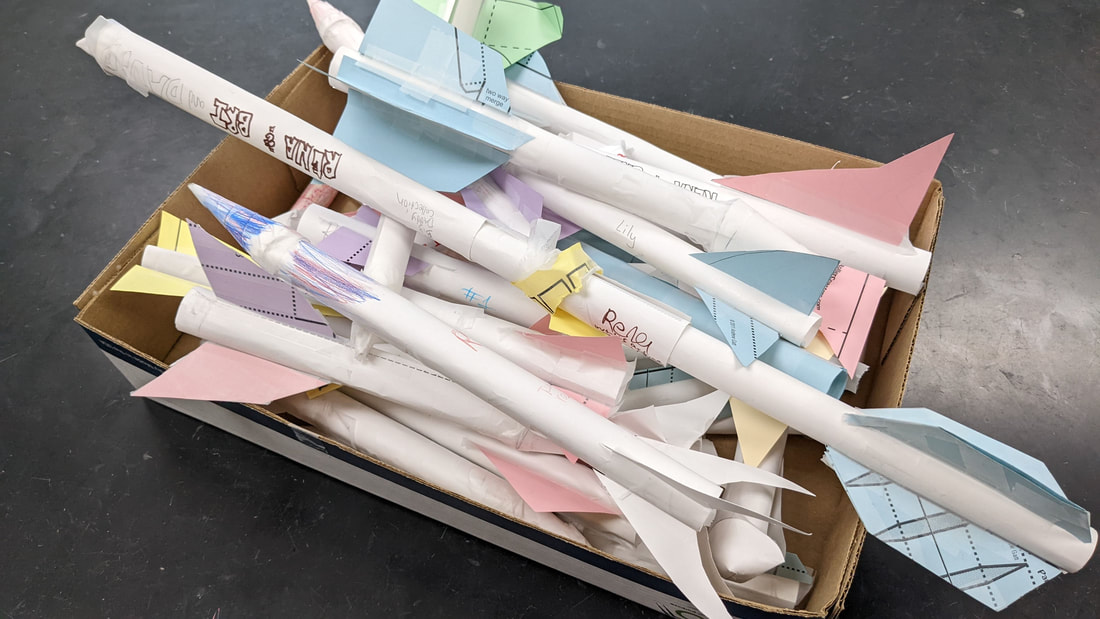
OverviewThe goal of this project is to design and build a paper rocket that travels the furthest horizontal distance when launched at a predetermined angle and air pressure.
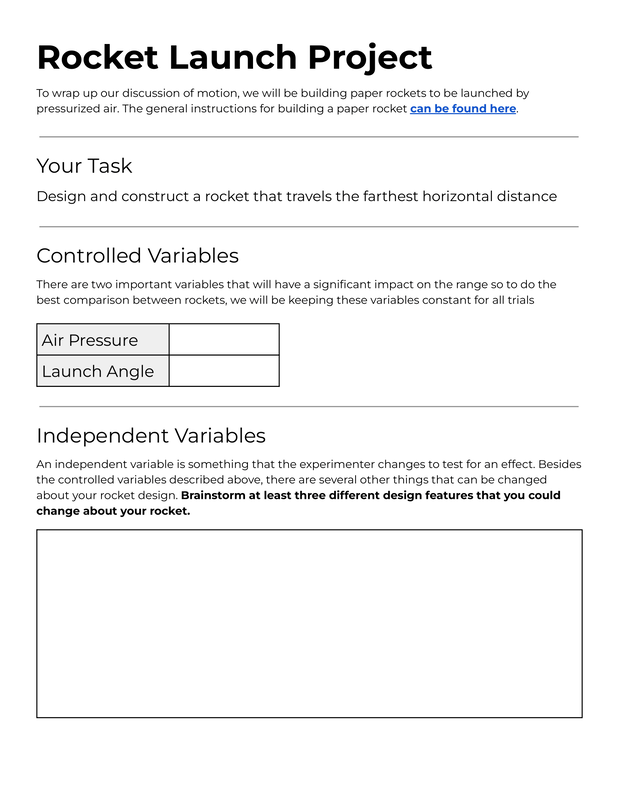
Designing RocketsWith the launch angle and pressure fixed, the variables that are left are all related to the rocket's design. After showing students my sub-par example rocket, I had students work with a partner to come up with a list of variables that they could experiment with. Some examples of variables that students experimented with are included below. Independent Variables
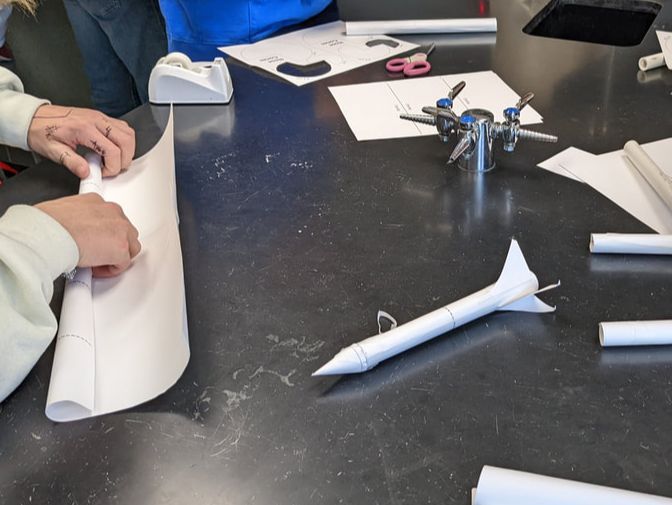
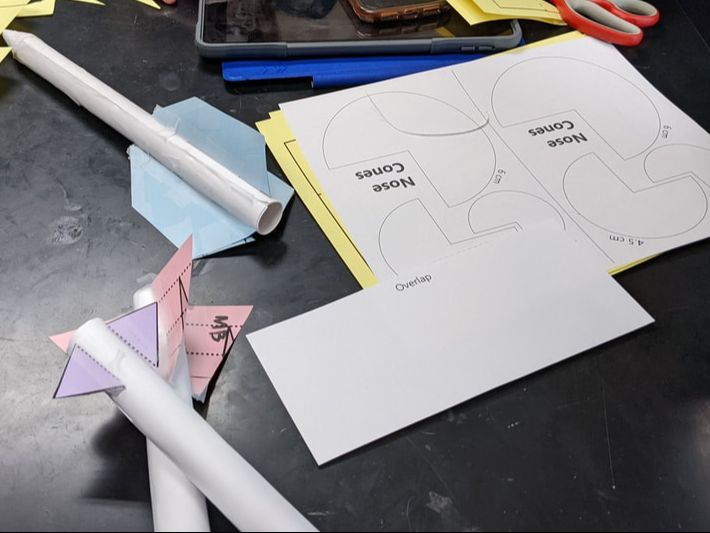
Before the first test launch, I encouraged students to create two different rockets where they played with just one of the variables that they brainstormed. For example, create one long rocket and one short rocket where the nose cone and fins were identical. I gave my students an option to work with one other person if they wanted so most groups of two just had each person build one rocket for the first launch. Building RocketsMy favorite part about this project is that it is iterative and students can go through the design/test cycle many times to learn from experience and trial and error how to make the best rocket. There are a few different tips that we learned along the way to help all students find success overall so they could focus on the design variables that they were testing.
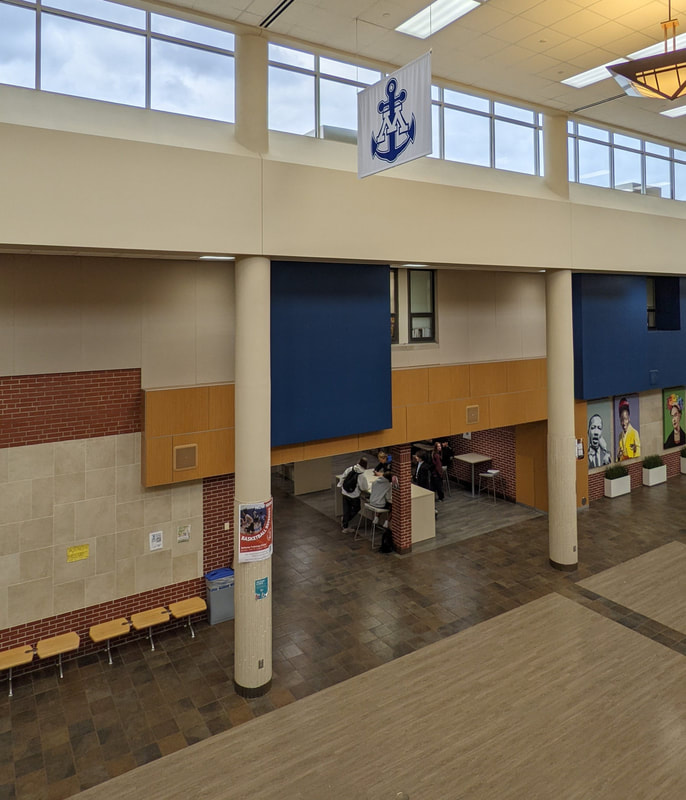
Toss to Test for Flight Stability Even without the launcher, students discovered that they could get a feel for how stable their rockets flight was going to be by simply stepping into the hallway and tossing their rocket by hand like a paper airplane. If it can't fly straight at low speeds like this, it will definitely twist and turn when blasted off with 60+ psi. This an easy way for students to make quick adjustments without too many official trials.
Overall, I was very pleased with how cheap the materials ended up being for this project. Even when scaled up to 700 ninth graders, aside from the launcher itself, we only needed paper and tape so it hardly made a dent in our department budget for the year. We opted for cardstock to make the rockets a little bit more durable but you can get regular paper to work as well for this project if needed.
The Final Launch
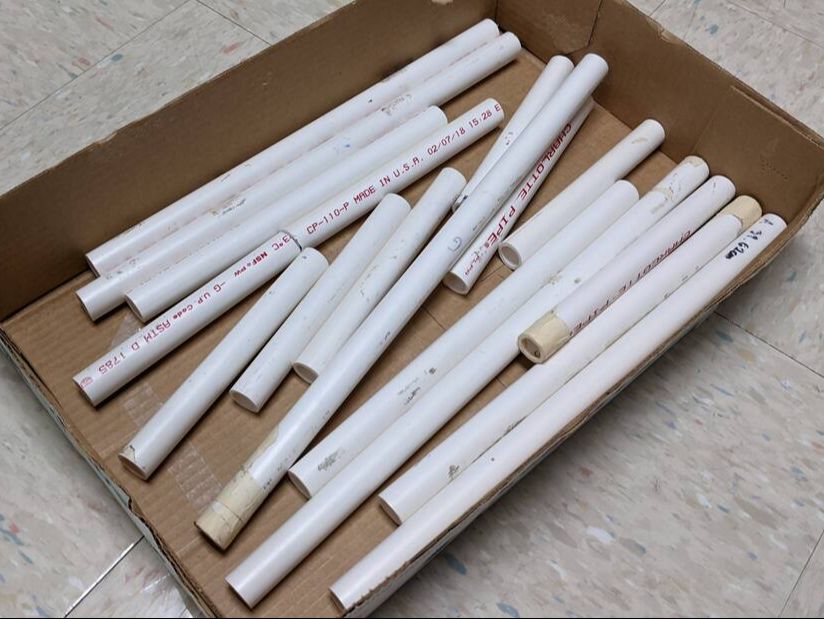
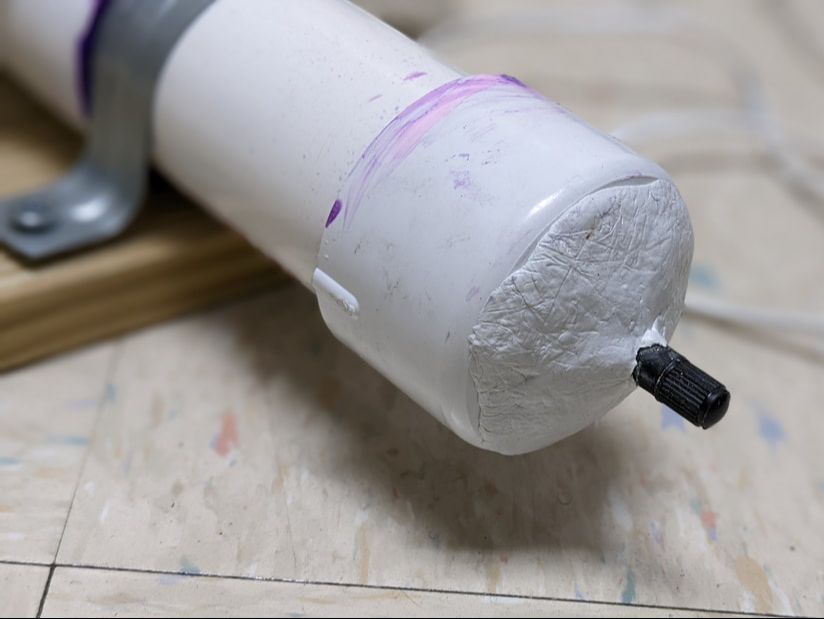
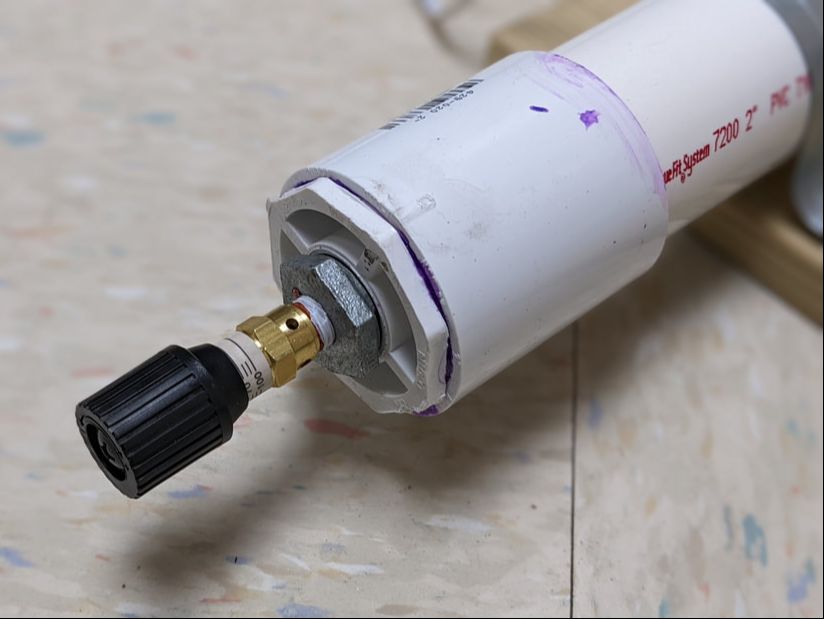
Building a LauncherThe launcher is really what made this all possible and I'm excited to have these made to use now from year to year. It is pressurized with a standard bike pump and releases with the push of a button thanks to a special DIY button activated sprinkler valve assembly that you can buy from amazon. Since the valve was button activated, I could start pressurizing between launches and we were averaging about two rockets a minute per launcher. We made a couple so that we could accommodate multiple classes of students. To make the launchers, I used this Instructables walkthrough as a starting point with some modifications to add a pressure limiter and make the launch angle easily adjustable. I would encourage you to check out the Instructables write up first to get a solid background for the build and pay close attention to the safety note below. 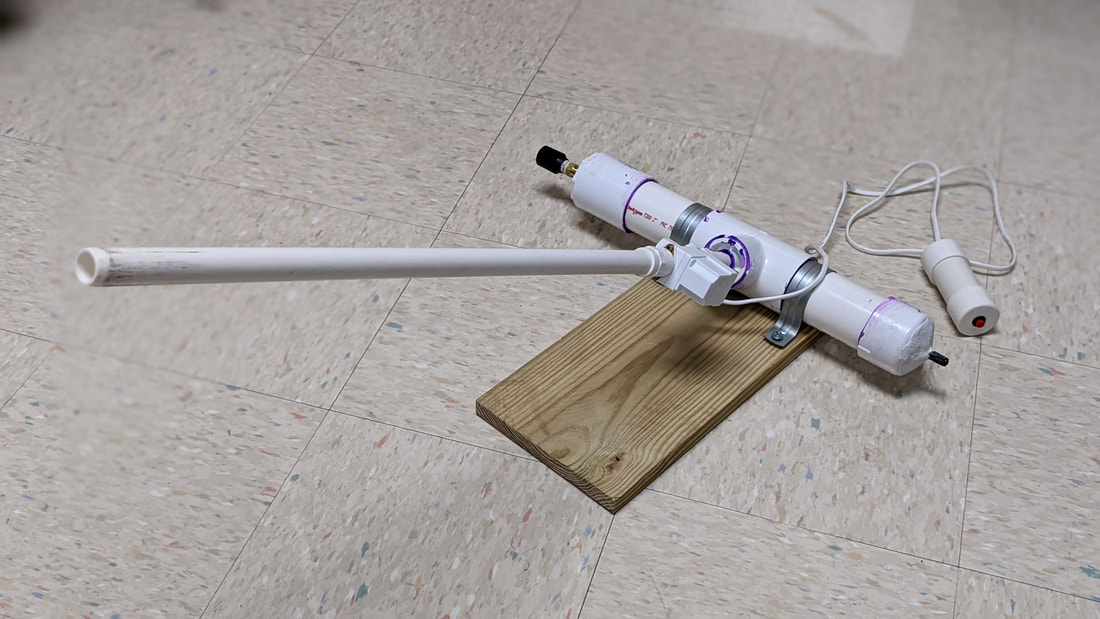 To fit my needs, I made a couple of modifications so here is an overview of my version of the build Important note about safety When selecting materials, make sure that the components are rated to handle pressurization or the launcher may experience a catastrophic failure. The DWV (Drain, Waste, and Vent) PVC is not designed to handle any pressure at all so it is crucial that you select properly rated Schedule 40 pipes and fittings. Furthermore, when testing and launching, make sure that the launch area is always clear when the launcher is pressurized (even when there is no rocket loaded) and never pressurize the tank above 100 psi. If you use the pressure relief valve that I added for my modified design, that component will prevent any overeager pumpers from going too far and it can be adjusted to any target pressure below 100 psi. I found that 60-80 psi was plenty for what I needed :) Materials:
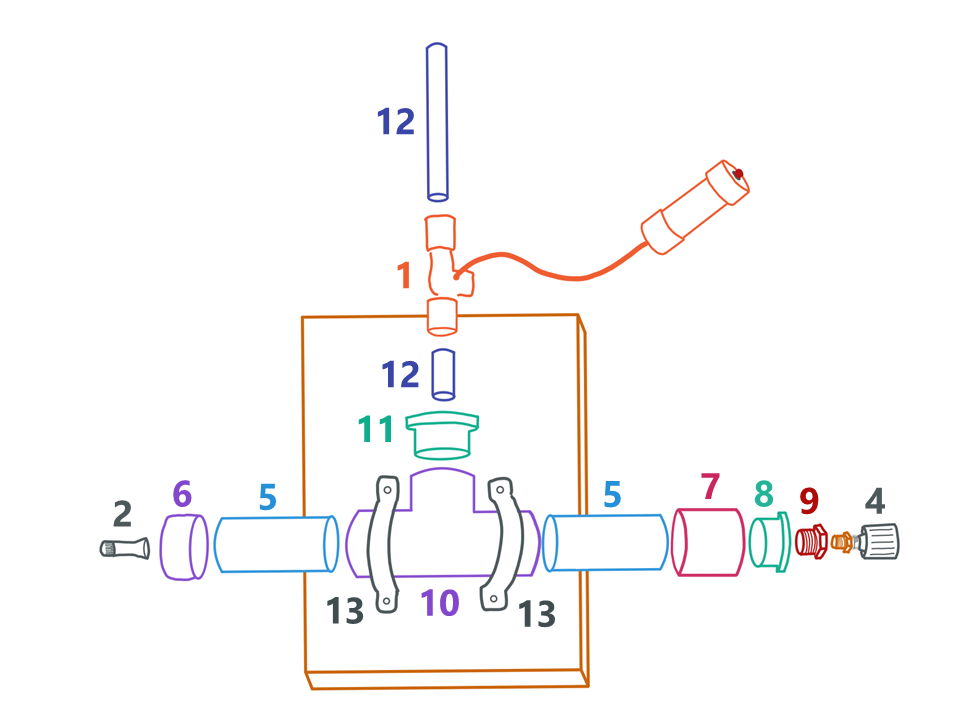 Step 1: Cut 2" PVC (5) and 1/2" PVC (12) to the proper lengths with a hack saw or PVC cutter. Use a file to slightly taper one end of the long 1/2" PVC launch tube so that rockets can easily slide on.
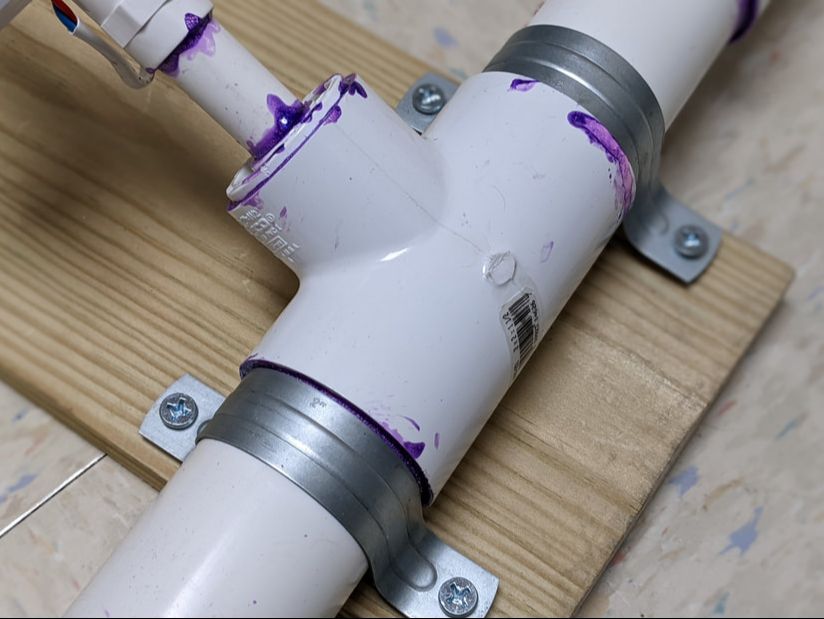
Step 3: Using PVC cement (14) glue all PVC components (including the button activated valve (1) bushing) together and let dry. You might be able to get away with a press fit for the launch tube since it is on the other side of the valve from the pressure chamber.
Once everything is assembled, you should be able to hook the launcher up to a standard bike pump, pressurize it to 60-80 psi, release the valve by pushing the button, and watch your rocket fly :) I have used this now with kids as young as my own (2 and 4 years old) as well as other physics teachers at workshops and everyone is equally excited to see something that they created blast off in such a satisfying way. When all was said and done, the cost per launcher came to around $80 each but once you have it made, it should last so that the only thing needed to do this project again is some more paper and tape!! 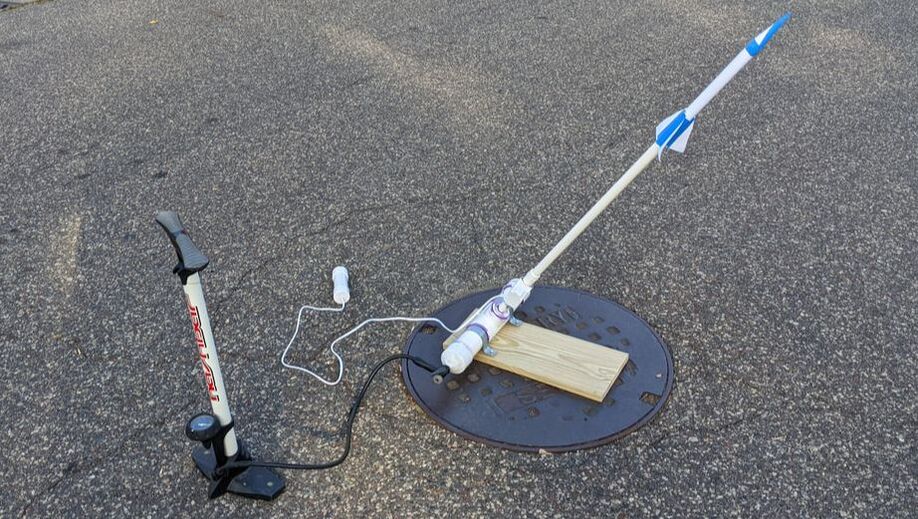 Files
Click for more Motion resources ⬇ 
Comments
|
Joe CossetteFather, Physics Teacher, Knowles Fellow, Friend, Techie, and Musician Blog Posts |
||||||||||||||||||||||||||||||||||||||||
 RSS Feed
