|
A breakout task is an activity that brings the escape room experience into the classroom. BreakoutEDU has been a major player in this space, designing kits and activities for this platform, and served as the primary inspiration for this activity. This Bonding Breakout is my third attempt at creating a breakout task that is focused on giving students a rich experience with the content. See my posts about the Energy Breakout and Circuits Breakout for more examples like this.
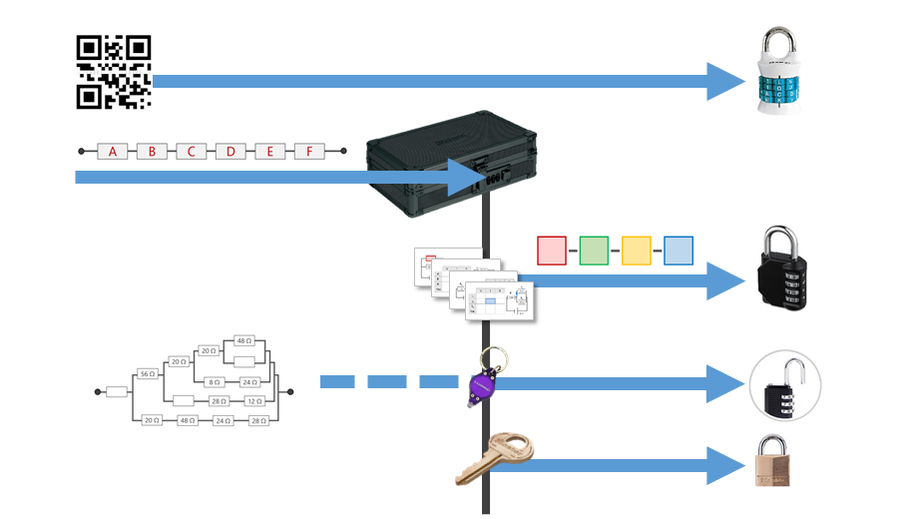
The ProcessThis task gets pretty involved to try to digest all at once (it is designed to take a group of students 40 minutes to complete after all!) so I have split the explanation into the 5 locks that must be cracked before the students can get the prize that is hidden in the main box. The clues are prepared in such a way that, while there are several paths that students can take, they don't have all the clues that they need for each lock right away. I have outlined the overall flow of the 5 different locks in the diagram below. As you can see, some of the necessary items needed to unlock the number locks and keyed padlock are obtained only once the small box has been unlocked. 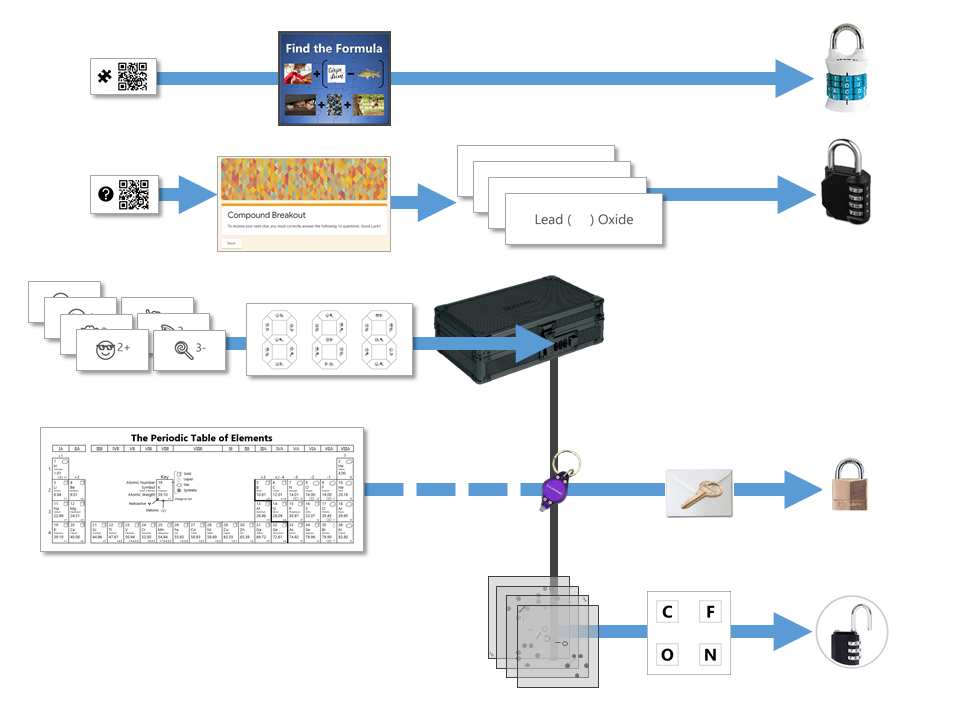 Lock #1 - Alpha Lock
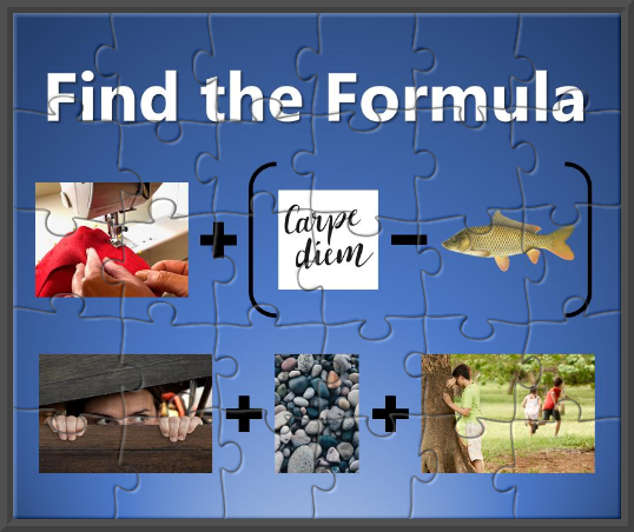
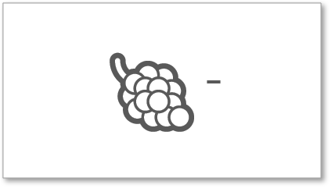
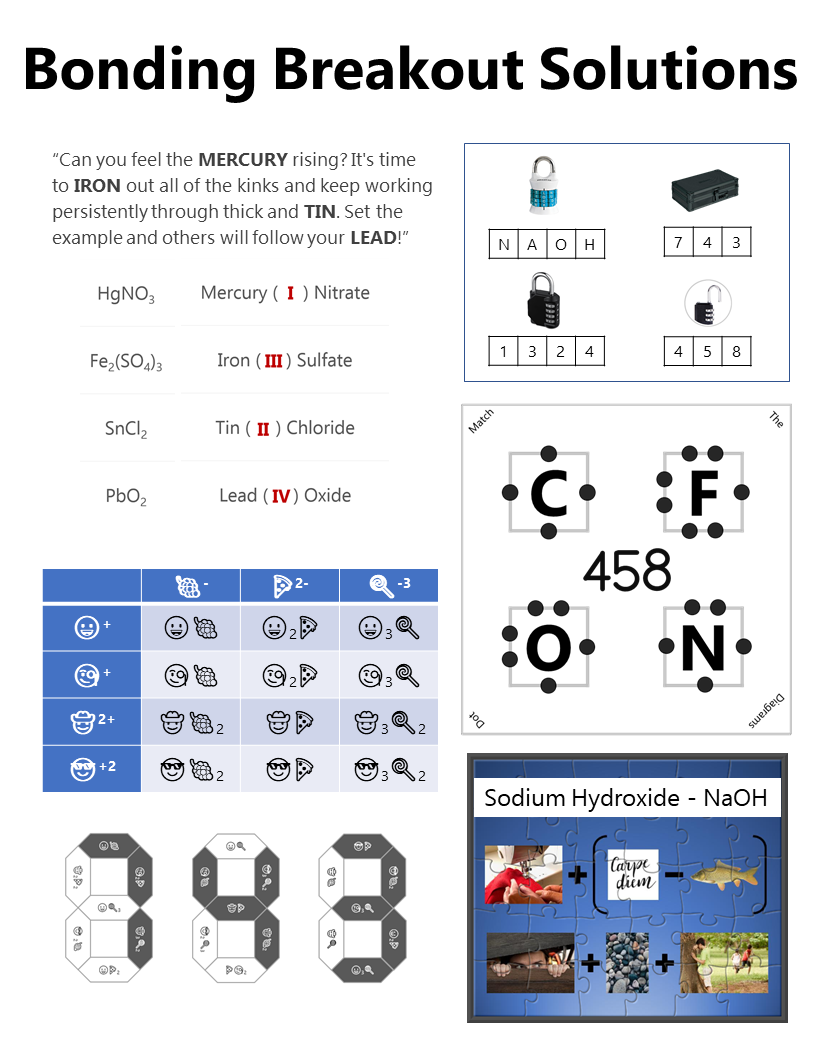
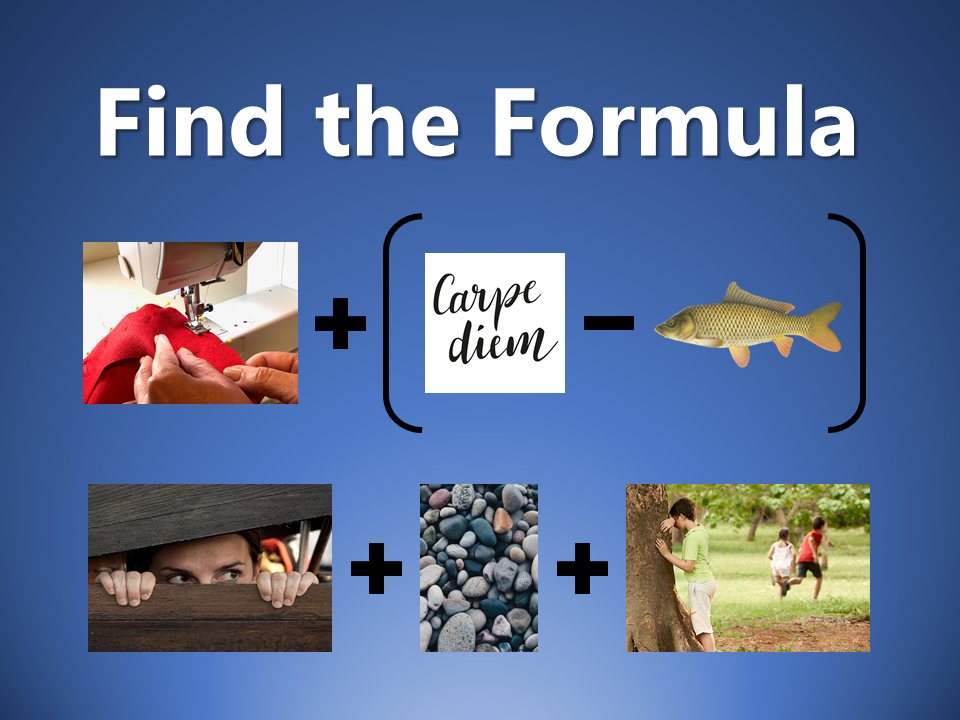
This pictogram puzzle is intended to guide groups to the chemical formula of Sodium Hydroxide (NaOH) to open the 4 letter alpha lock. Sew + (Carpe Diem - Carp) Hide + Rocks + Hide Lock #2 - 4 Digit Number Lock
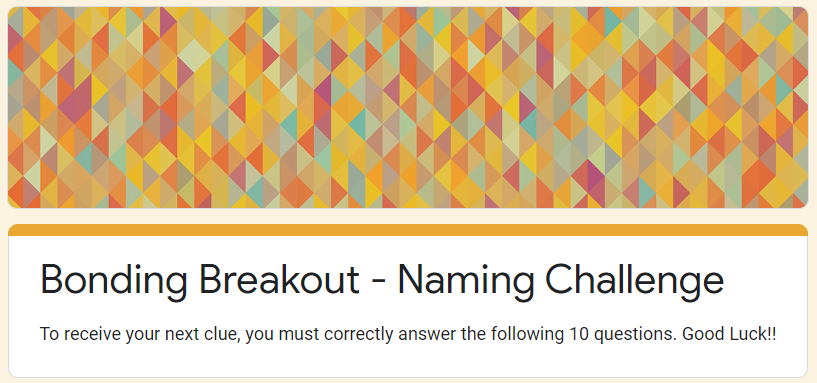
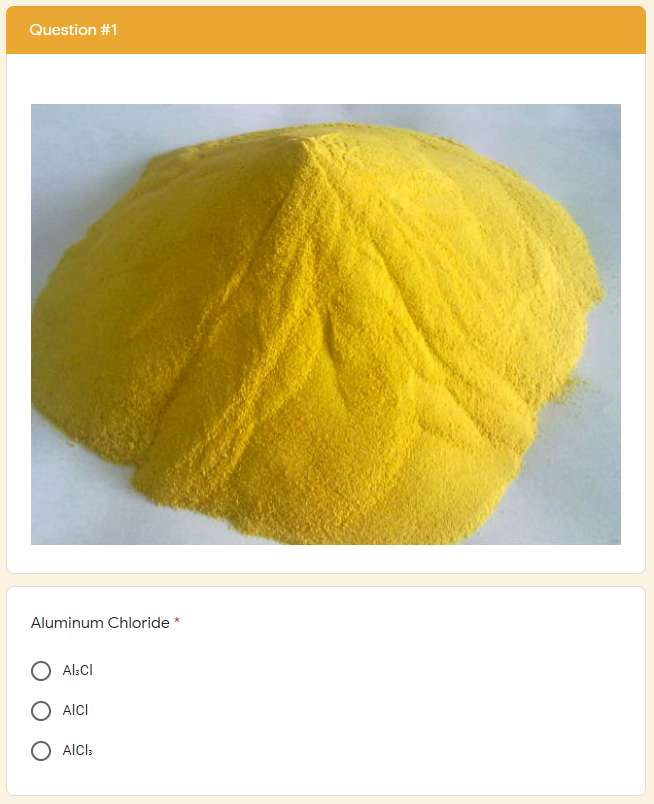
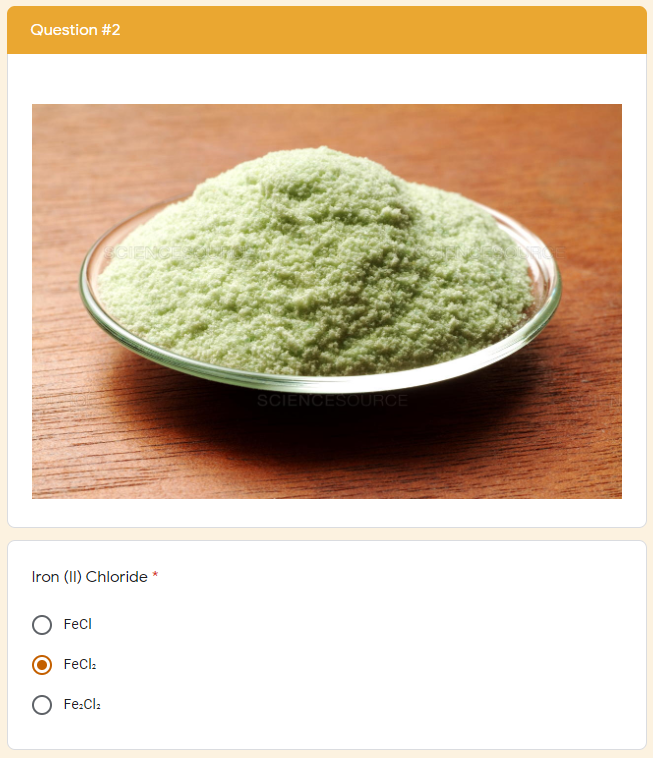
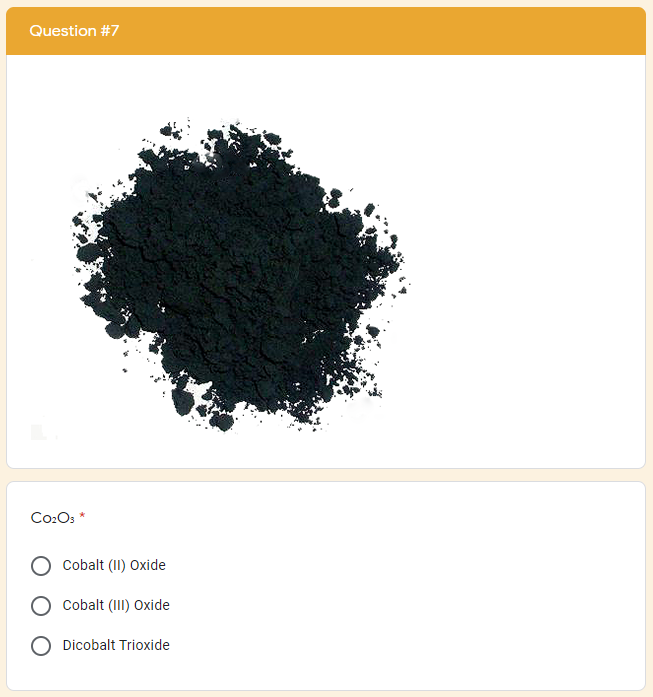
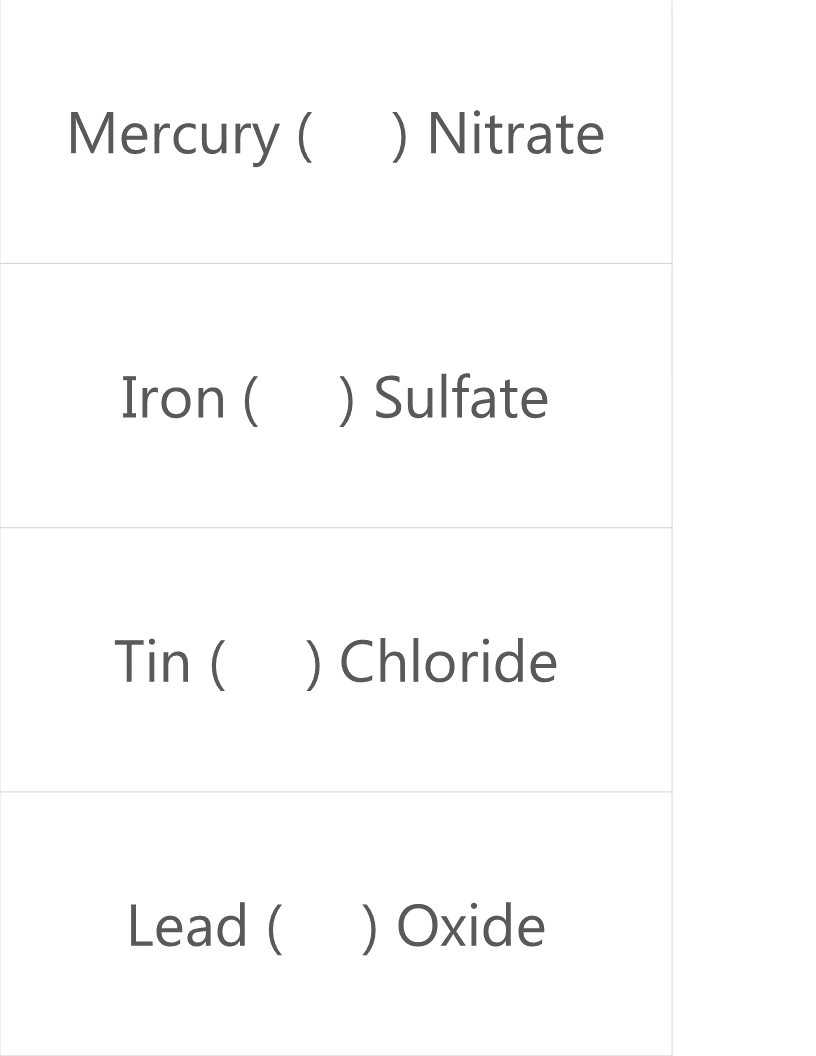
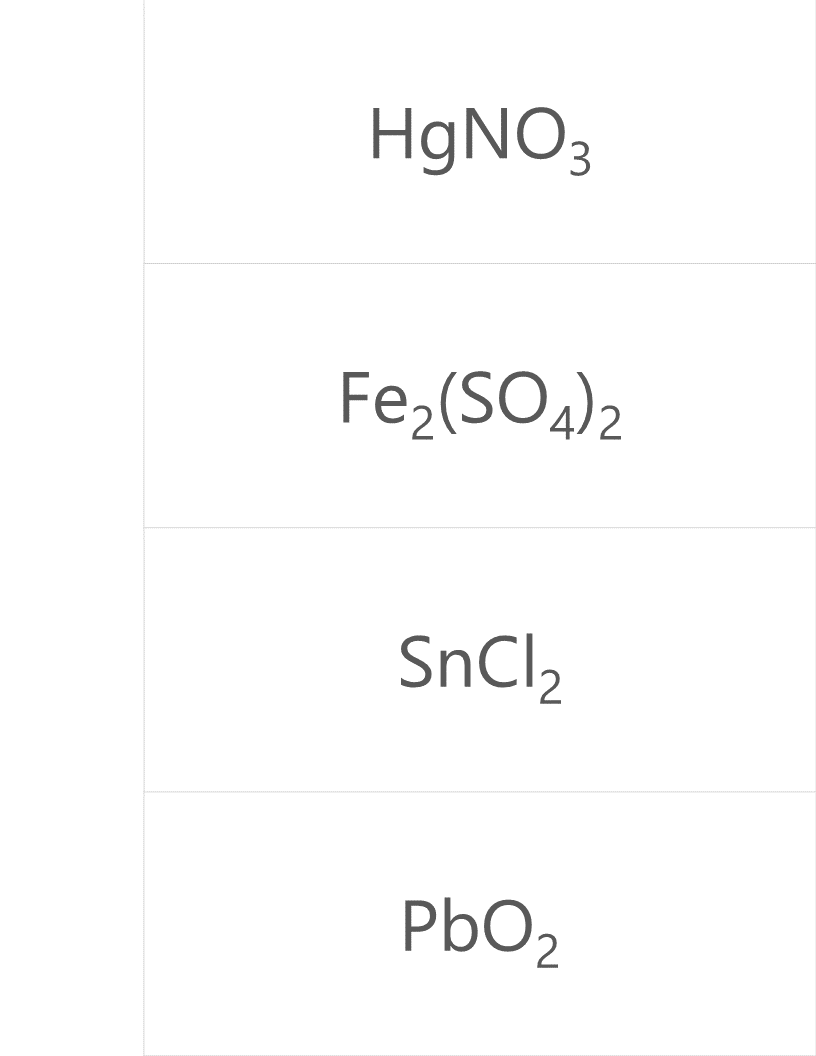
The google form is set up with a series of multiple choice questions. Each question includes a photo of a chemical compound with its name or formula listed below it. Students are responsible for identifying the corresponding name or formula among a list of worthy distractors.
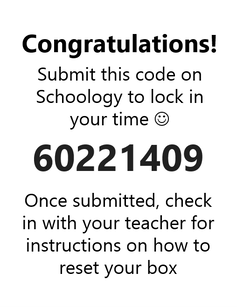
As they go through the form, they do not get any feedback until they complete the tenth and final question. If they did not answer every single question correctly, they will receive the following message to notify them that they made at least one error but doesn't provide them with any information about how many questions were wrong or which ones they missed. 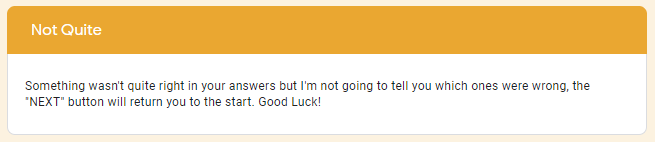 If they correctly answer each question they get to the "Congratulations" screen shown below. 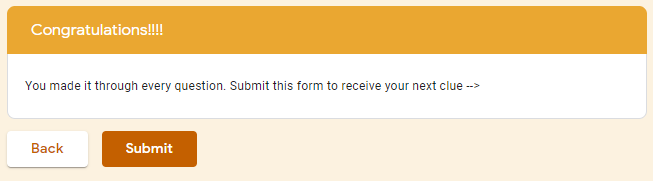 When they submit the form, they receive the confirmation message shown below: “Can you feel the MERCURY rising? It's time to IRON out all of the kinks and keep working persistently through thick and TIN. Set the example and others will follow your LEAD!” This clue corresponds to the metal used in each of the four multivalent compounds on the cards and indicates the order in which to organize the numbers to create the combination to unlock the 4-digit number lock. Lock #3 - Small Box
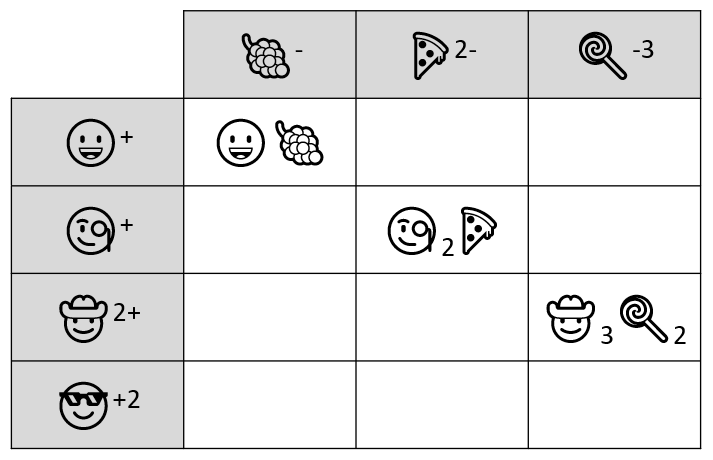
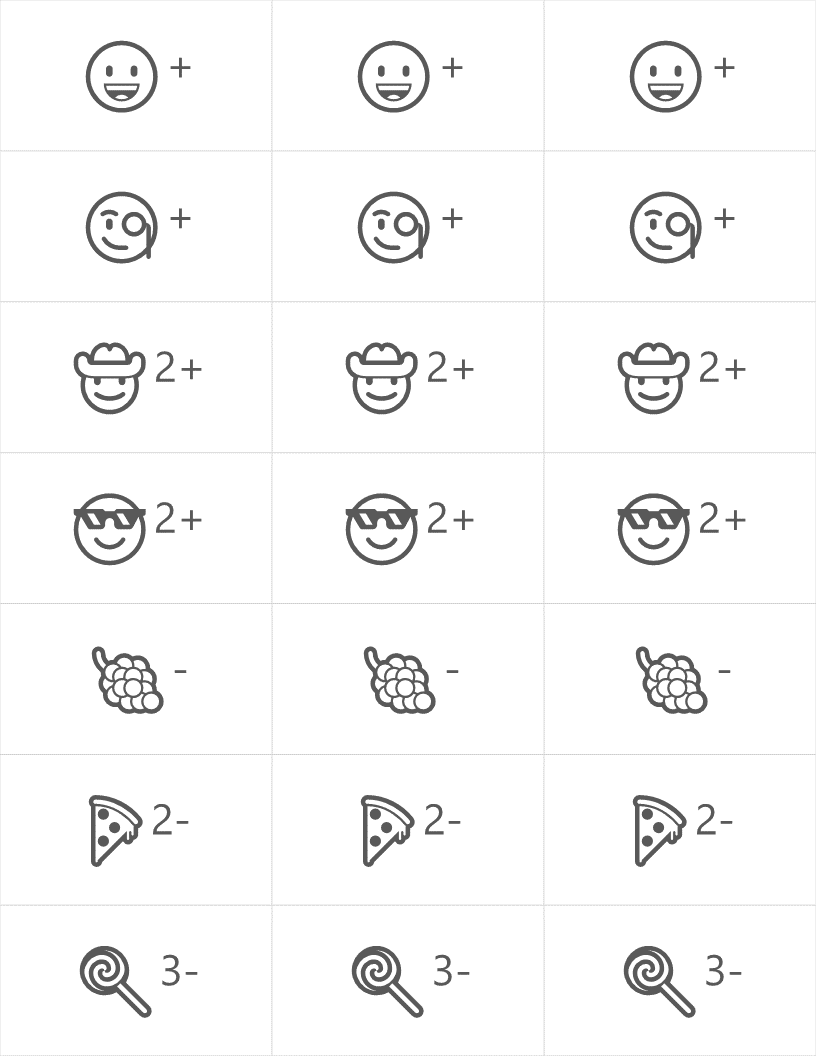
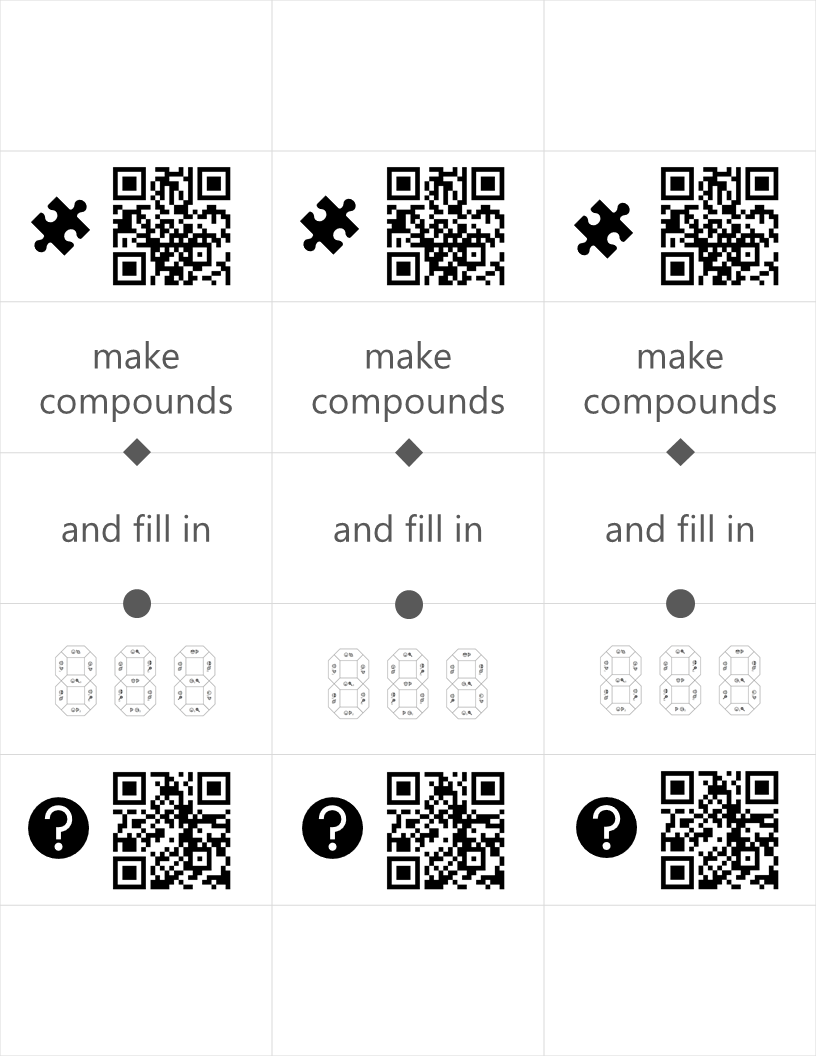
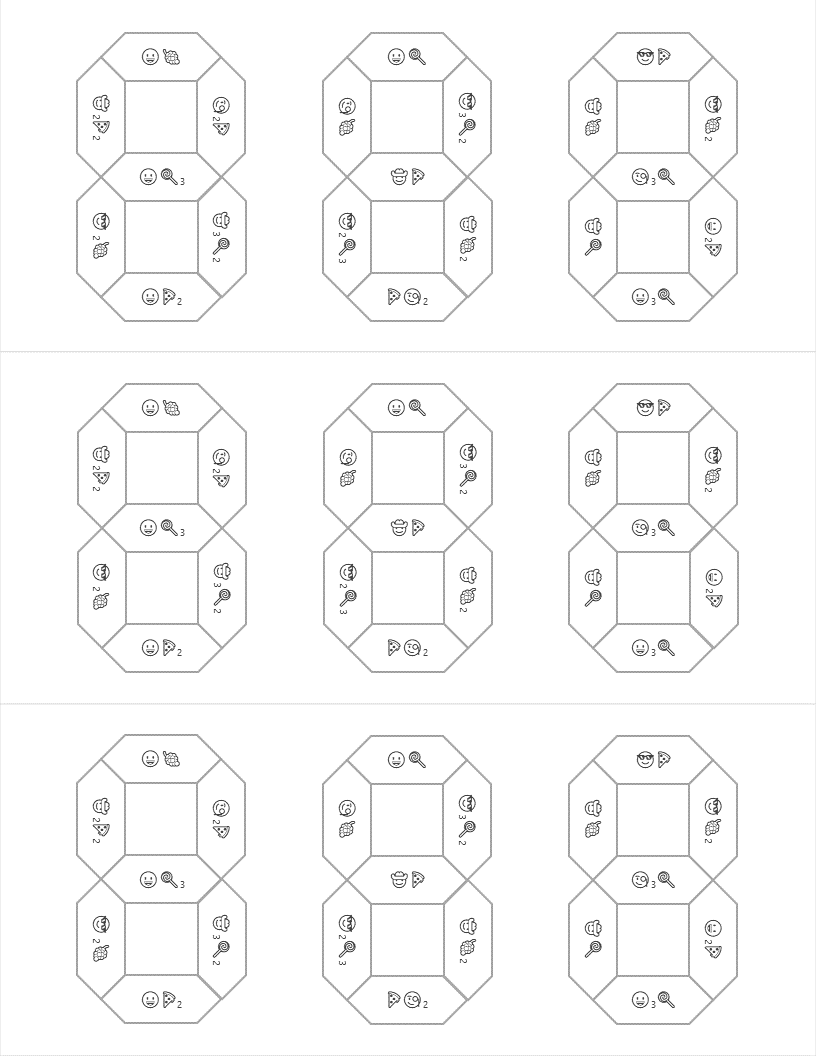
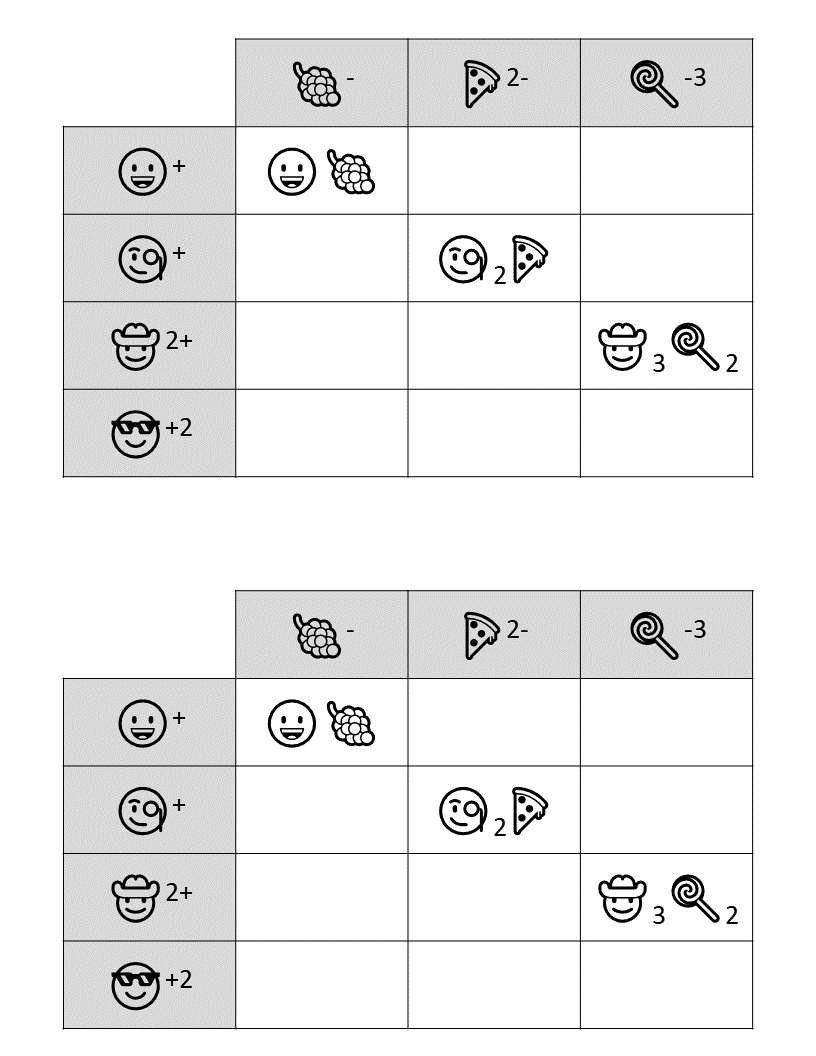
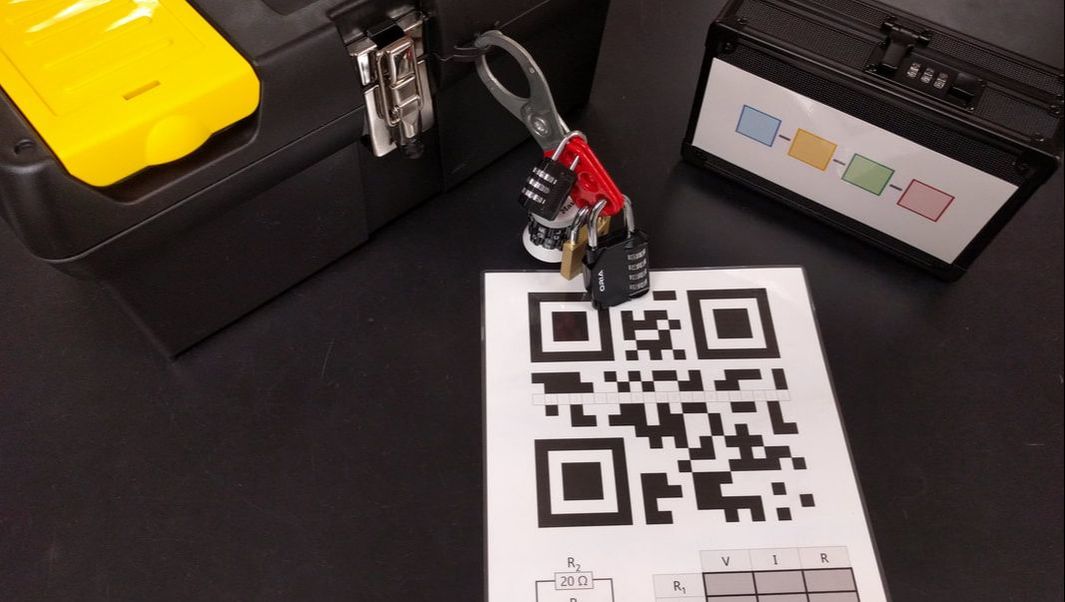
Hopefully, students will recognize that there is a clue taped to the back of the toolbox that contains the same emoji symbols as the cards. If they fill in the shapes that contain viable compounds, they will reveal the 3 digit number combination to get into the small box. 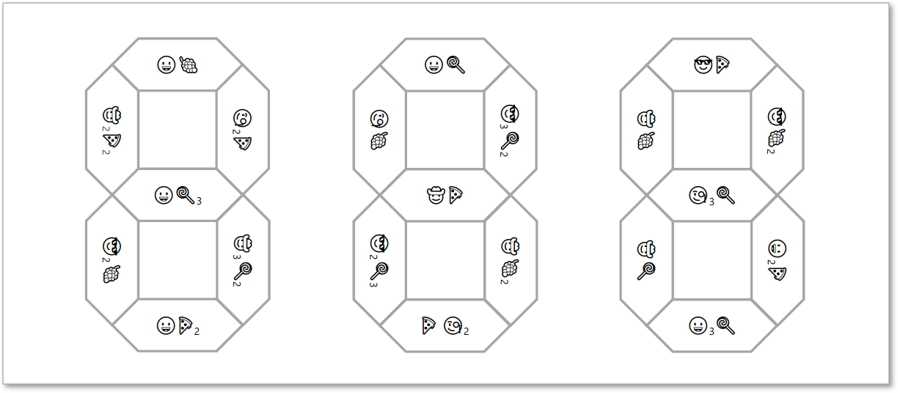
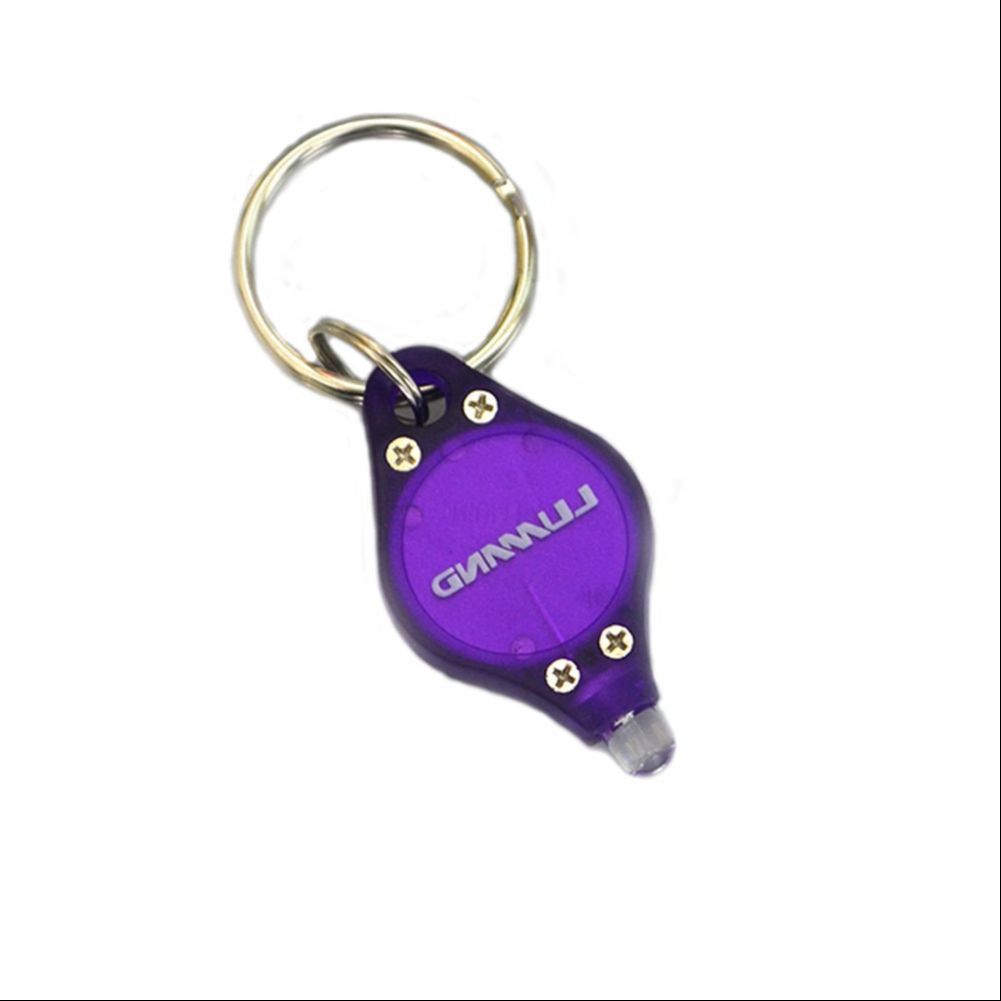
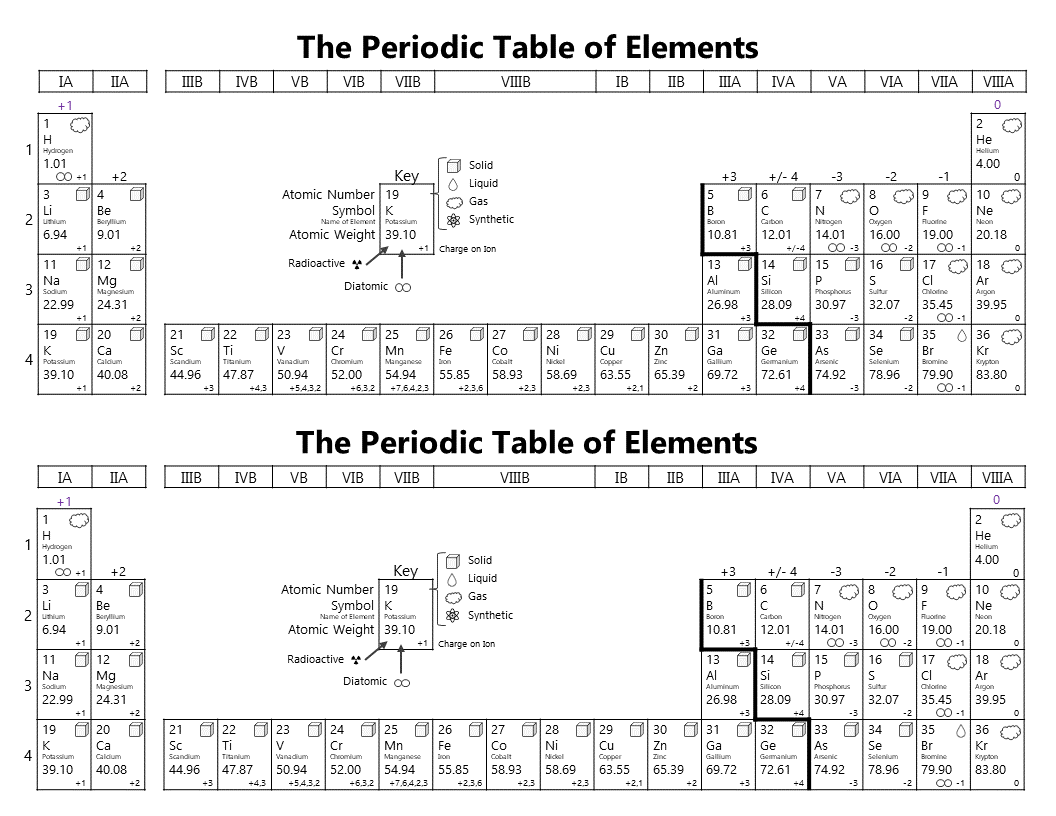
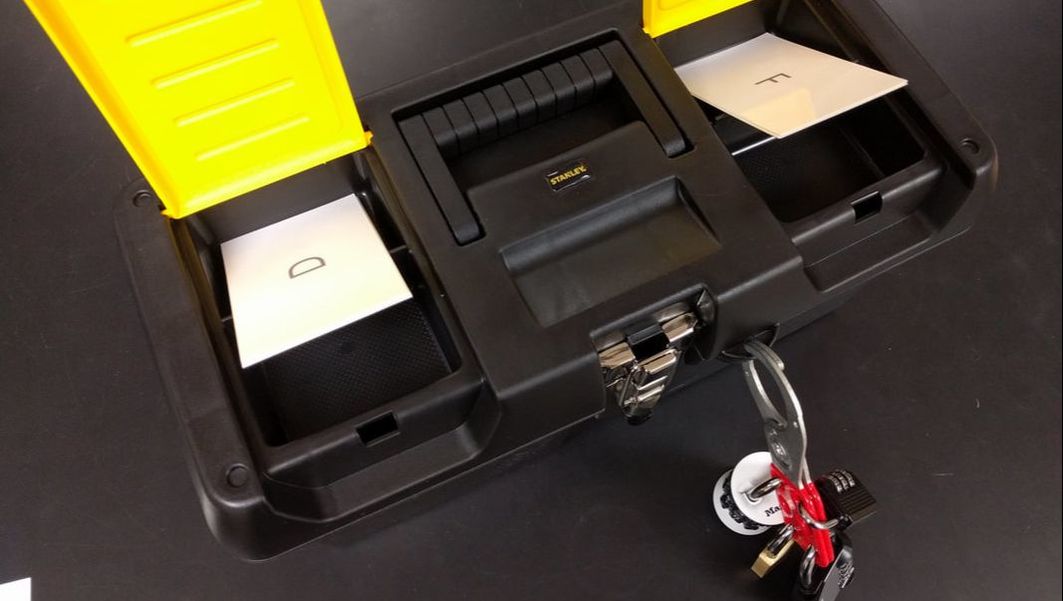
Lock #4 - Keyed MasterlockOnce inside the small box, students gain access to the UV flashlight. Before laminating the ion cards, I use a uv marker to write the words "Periodic" and "Table" on the backs of the two blank ion cards. I also used the marker to fill in one of the elements on the periodic table card that gets taped to the bottom of the toolbox.
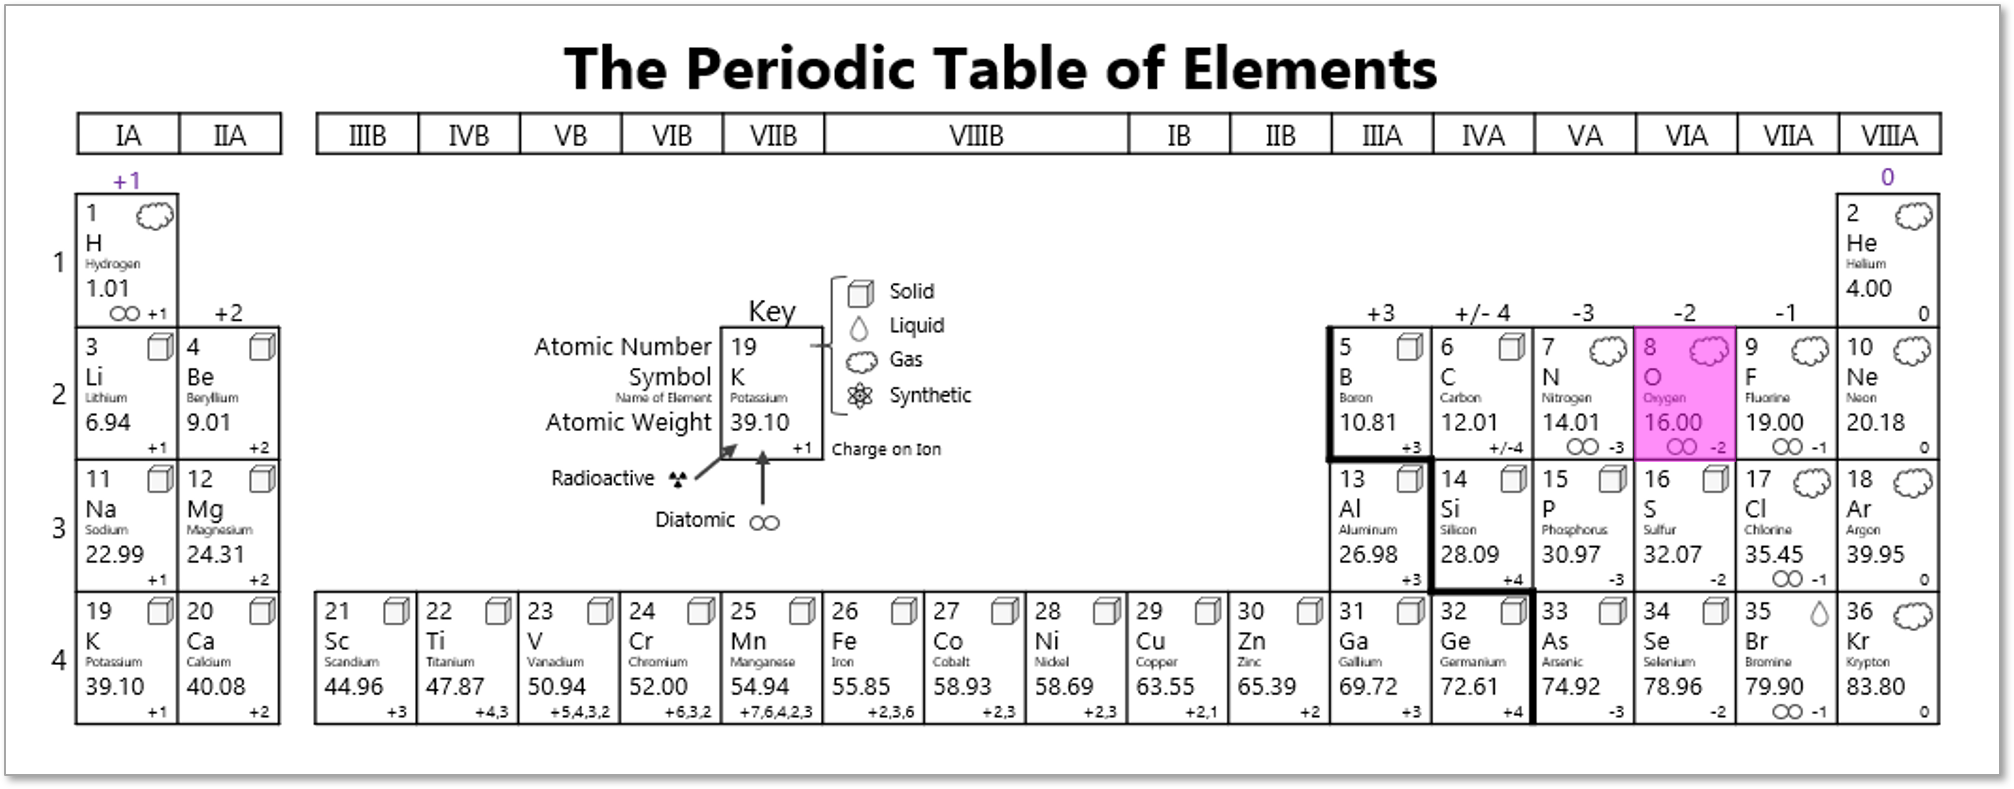
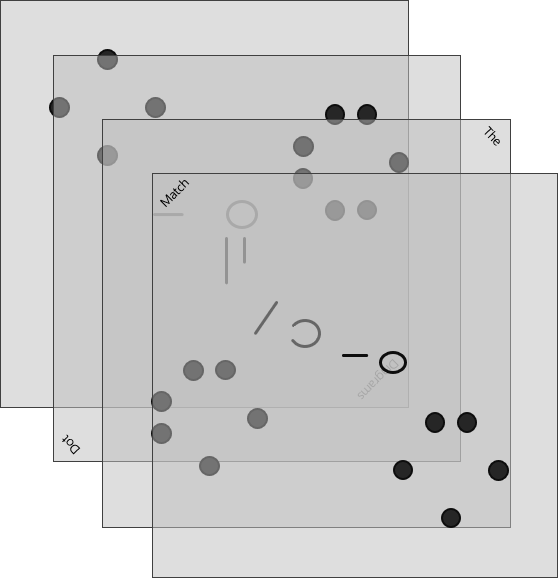
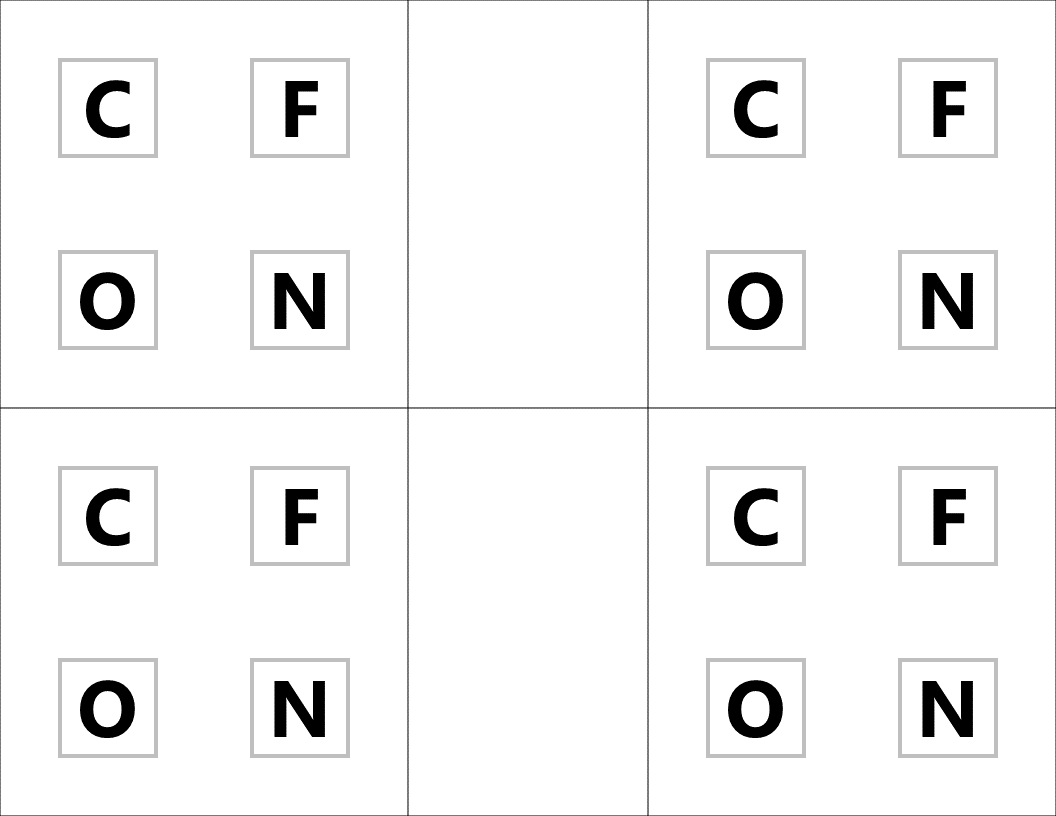
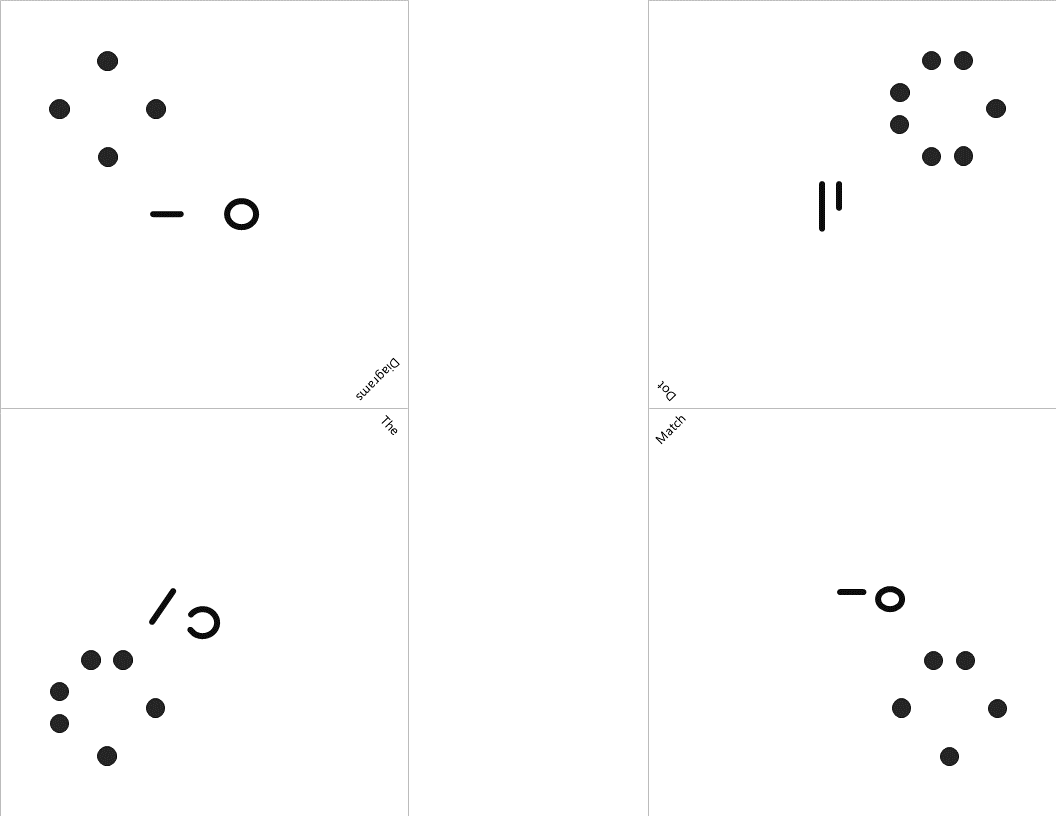
Once the students know the element that is highlighted on their periodic table clue, they can locate the corresponding element envelope taped to the periodic table poster or white board in the front of the room. This envelope contains the missing key for the Masterlock on their box. Set up note: Before class, I taped these small envelopes to the large periodic table poster in my room. For the elements that have been highlighted with the UV marker, I place the key that matches the box with the corresponding clue. For my own sanity and ease in set up, I hid each key in the envelope element with the atomic number that was twice the value of the breakout kit at that station. For example, the breakout box that I had labeled with a #4, their clue led them to Oxygen (atomic number 8). This way, they still had to find the clue but it was simple enough to know how to set everything back up. Of course, it would be easy to use this clue to each group to any element that you want :) Lock #5 - 3 Digit Number LockFor the 5th and final lock, students receive a set of transparencies along with a square card displaying 4 element symbols. Each of the transparencies contains a series of dots representing the Lewis Dot Structure of one of the elements included on the square card. If all of the pieces are overlaid correctly, they will reveal the combination for the 3-digit number lock.
Since the image on the transparencies can be viewed just as easily on either side of the card, each one contains a small word in the corner. In order for the puzzle to work appropriately, each card must be flipped so that this word can be read as normal.  Printing out the CluesI knew going into this task that I wanted to make something that I could use over and over without a huge reset between class periods. Because of this, I chose to print out all of the clues on card stock and laminate everything with my handy thermal laminator. Of course, it would work just fine on regular paper as well. Just be prepared to have sets of clues to refill the boxes if you are doing this for multiple classes in a row. I wouldn't expect that you will be able to reuse any of the printouts from class to class because it's almost guaranteed that someone will write on them even if instructed not to. This was another great benefit of the lamination because students were able to write on the clues with a dry erase marker or Vis-a-Vis wet erase transparency marker and wipe it clean at the end of class. Here are the files in pdf and powerpoint formats organized by clue groups. A couple things to keep in mind:
Once you have everything printed out, you will need to do one last thing to make sure that clues are ready to go. Clue 6 requires a little Invisible Ink that students will be able to reveal using the Ultraviolet flashlight. You will need to use an Invisible Ink UV marker to highlight one of the elements on the periodic table. This will point students to the correct envelope taped to the classroom periodic table poster As mentioned earlier, I hid each key in the element with the atomic number that was twice the value of the breakout kit at that station. For example, the breakout box that I had labeled with a #4, their clue led them to Oxygen (atomic number 8). This way, they still had to find the clue but it was simple enough to know how to set everything back up.
Setting up the Breakout BoxAll of the components required are part of the official BreakoutEDU kit that you can purchase for ~$150 from their website. If that pricetag is hard to swallow, I have written up some more information about building your own breakout kit sourcing from Amazon. In my blog post, I outline how I made 9 kits for under $70 per kit 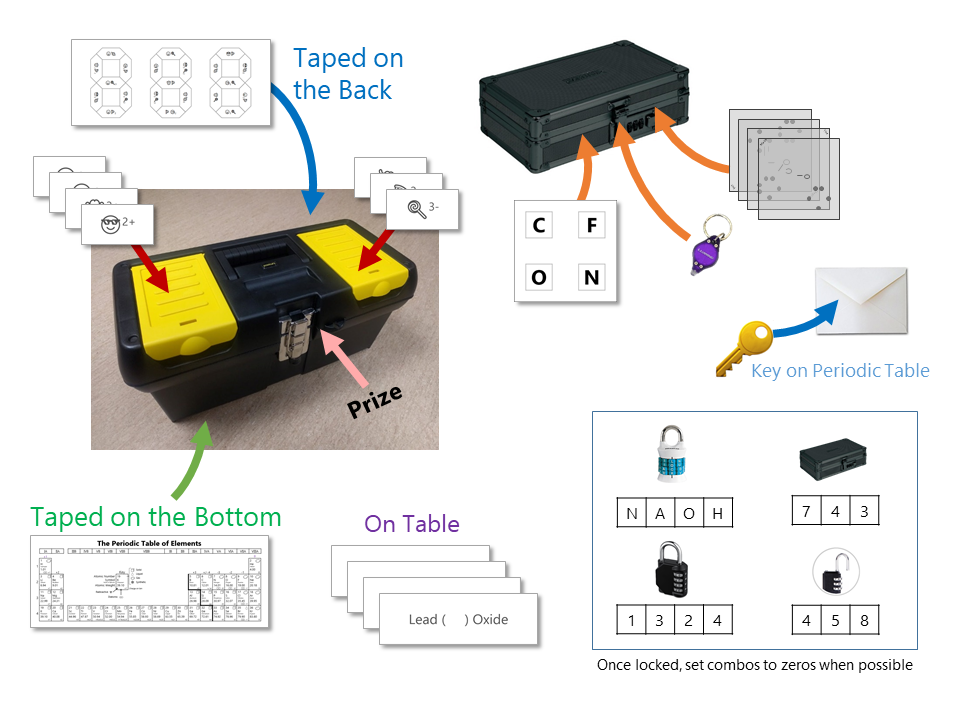
Outside the Big Box:
Inside the Small Box:
On the Table:
On the Periodic Table Poster or Front Whiteboard:
Set your Locks:
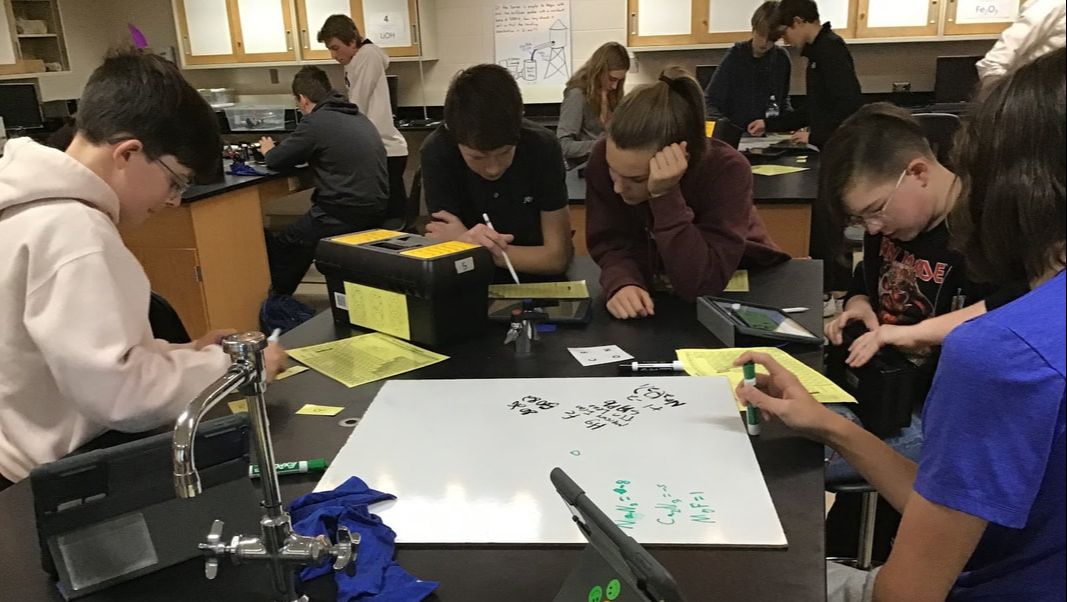
Lock it Down: Use the Lockout hasp to lock the big box with Word Lock, 4-Digit Numlock, 3-Digit Numlock, and keyed Masterlock Time to Escape!What my students loves most about this activity was that I didn't give them any guidance or instructions. I'm pretty sure all that I said was: "There is a secret code for your group inside the big box on your table. You must work together to solve the clues and submit the code to lock in your time" Resetting the Box
DownloadBelow you will find a .zip file of the digital (PDF and editable) files needed for this breakout task. All of the files are included individually in the sections above as well but it's nice to get everything in one tidy package!
Please leave a comment or contact me directly if you have any questions about this activity or setting up your own breakout box escape room activity. I'm excited to continue adding more in the future so I can get some more value out of these kits Download an outline of this task (essentially a printer friendly version of this blog post)
More Breakout TasksThere are several other breakouts can can be found on this website as well as some information on assembling a breakout kit and designing your own task. More details can be found at the links below:
Comments
|

Joe CossetteFather, Physics Teacher, Knowles Fellow, Friend, Techie, and Musician Blog Posts |
||||||||||||||||||||||||||||||||||||||||||||||||||||||||||||||||||||||||||||||||||||||||||||||||||||


 RSS Feed
