The Set UpTo get the results to work out successfully, there needs to be a little bit of prep work so that the calculations match reality. The most challenging step was figuring out how to set it all up so that the spring behaved as expected and allowed for a nice straight drop without too much lateral motion. SpringsObviously the most important component of this bungee jump model is the elastic material used. I've done versions of this before with large elastic bands but the spring constant for rubber bands is far from constant and the variation in the measurements of "k" resulted in some serious issues with the precision that we were aiming for. I made the switch to springs this year and was very happy with the result.
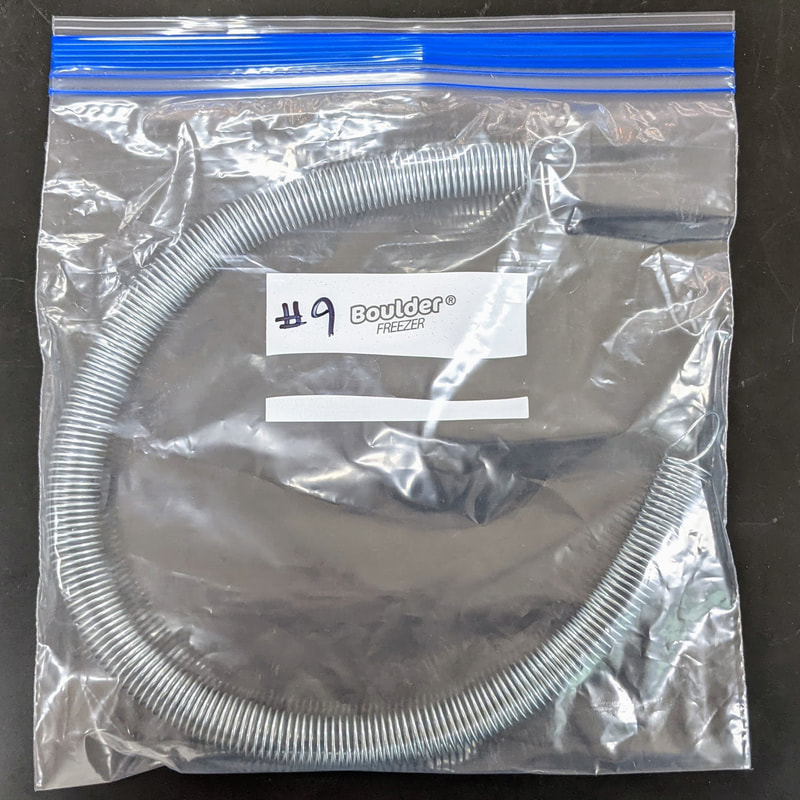
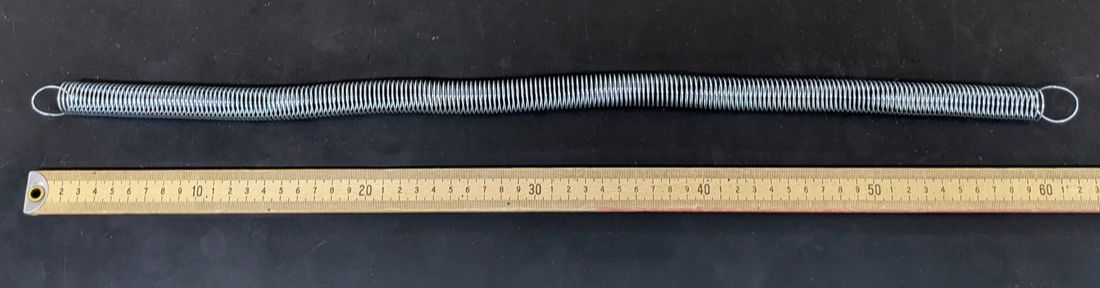 I used wire cutters and pliers to cut the spring to length and bend loops at the ends to attach to. I was easily able to make a dozen shorter springs from two snakeys so each group could have their own spring with a unique length and spring constant to work with. I recommend storing these in separate gallon-sized ziploc bags to prevent the springs from getting tangled. This is also a good opportunity to label the springs so that groups can get the same one if the lab needs to be spread out over multiple days.
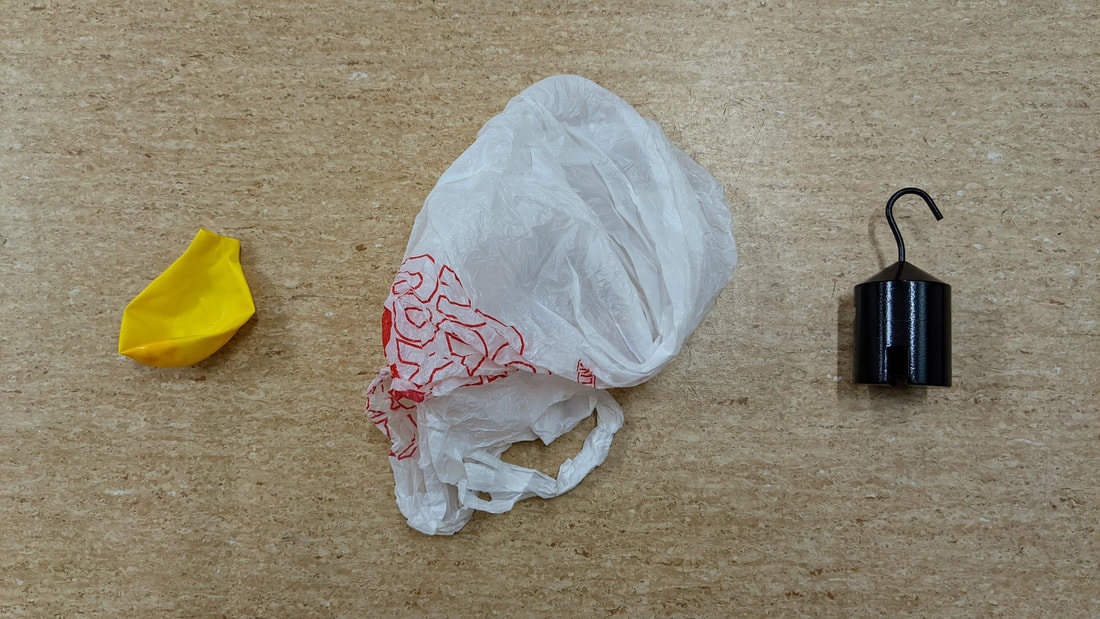
You might notice that this spring is a little bit stretched out and is not in tight coils like the snakey comes out of the box. This is how the one I salvaged from the back room was when I found it but I've heard that it is actually better in this context if the spring is slightly relaxed like this. It is the magic that helps the graph of force and stretch distance have a y-intercept of zero :) If your spring is still nice and new, it might be worth gently stretching it out a bit. The JumperI experimented with a few different masses to serve as the jumper because I wanted lots of stretch but not so much that it overextended the spring or hit the ground without a non-elastic cable. I found that the 500-gram option from our hanging mass sets was perfect to get the stretch I was looking for but the bottom was still a little aggressive on the eggs if I used it as is..
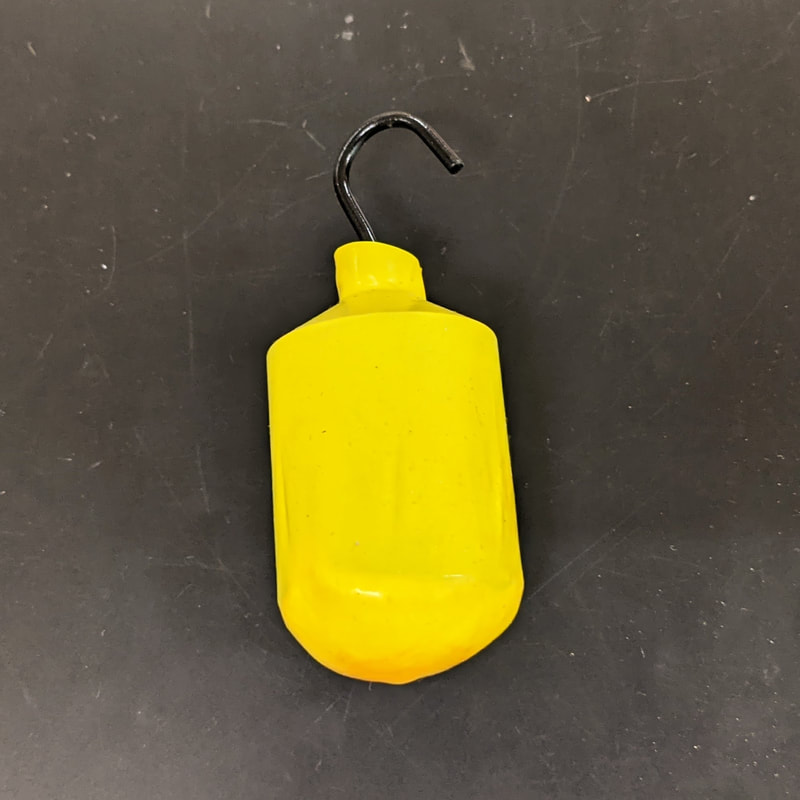
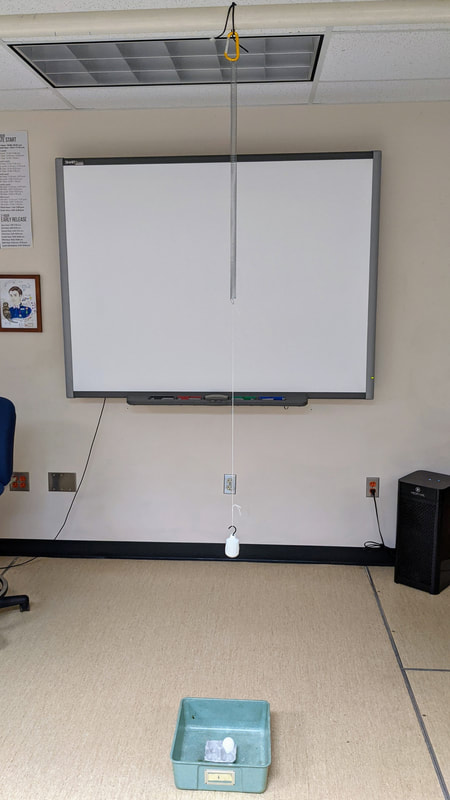
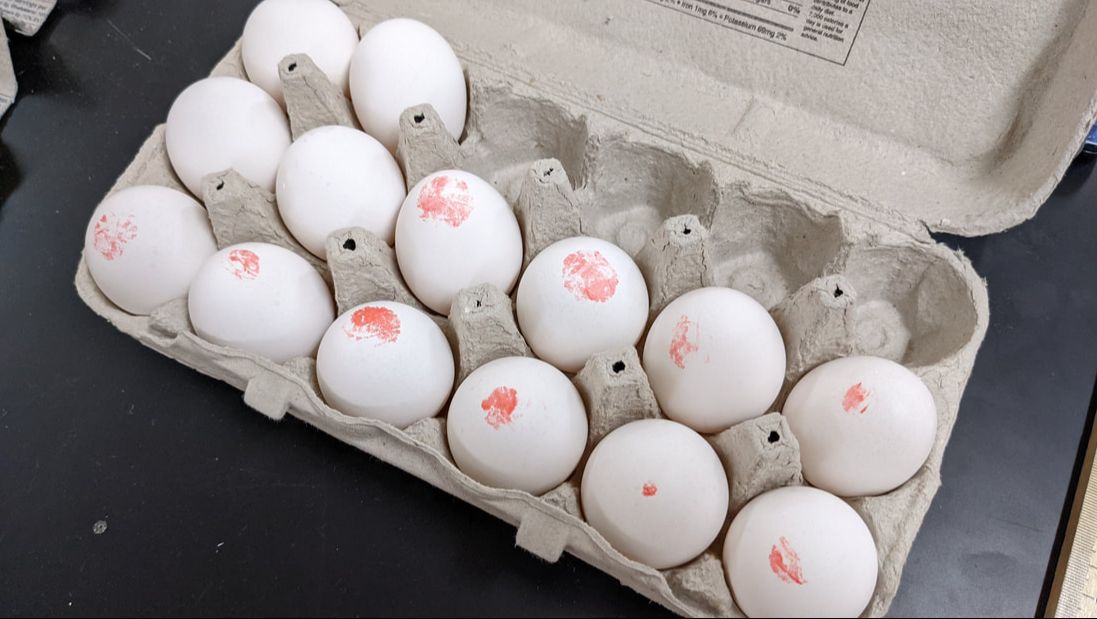
To make the hanging mass a little more "egg-friendly", I cut the neck off of a balloon and stretched it over the mass with half of a plastic bag stuffed inside at the bottom. I was able to track enough of these down to give one to each group but they could be shared as needed. The dimensions of the jumper are built into the calculations so they don't have to be the same for each group. To get it to stamp a mark on the egg, I just dabbed the balloon directly onto an inkpad. It easily transferred the ink at even the slightest touch of the egg and the compressibility of the balloon/plastic bag resulted in more surface contact to help the stamp do its thing. Drop Zone
Measurements
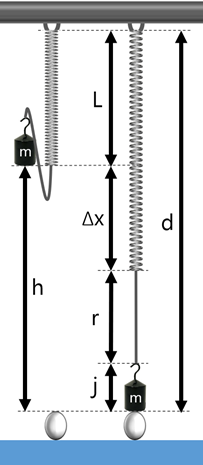
The EventOnce everything is set up, the rest is up to the students. Ultimately, their goal is to set up their bungee apparatus by connecting the spring and the jumper with the perfect length of non-elastic rope so that they get the perfect kiss at the bottom. I did this all in one class period but would probably prefer to separate the experience into two days with students characterizing the springs one day and then applying their data to the bungee apparatus for day two. Conservation of Energy
Characterizing the Spring
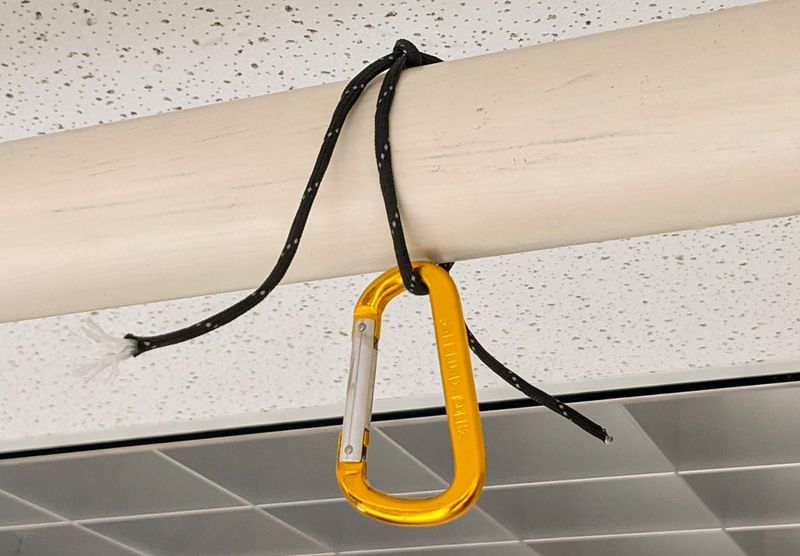
After years of doing this with elastic rubber bands, it was a relief to see how amazingly linear these graphs were. Because of this, a single measurement with Hooke's Law would also be sufficient if the class was tight on time. Tying the StringThe final step in the set up is to use the spring constant and energy equation to calculate Δx. With this value, they should be able to use the other measurements to complete the diagram and find what length the non-elastic string needs to be to acheive a perfect egg kiss. My goal with the spring lengths that I cut and mass that I chose was to have students end up with a rope length less than a meter so they could measure it precisely without needing any special tricks. Knowing this, I precut 1-meter lengths and had them tie the knots so that the overall length matched what they had calculated. If you are finding that your scenarios is calling for longer rope, you can affect this by making longer strings, dropping a larger mass, or starting as a lower height. The DropSince I had enough springs and masses for every group to have their own, they were able to bring their apparatus to the drop zone with everything already tied. All that was needed was to hook the free end of the spring up to the carabiner and apply some ink to the bottom of the balloon attached to the mass. I let students perform the drop first with a golf ball and make adjustments as necessary before switching to an egg. As much fun as it is to see some eggs breaking, if their practice round clearly demonstrates that their egg won't stand a chance, I didn't see much point in them attempting the drop unless changes were made.
I chose to keep this as an ungraded experience but promised my students that they would get an opportunity to relive the magic on a quiz or test question in their near future! FilesThe lab materials that I provided students for this challenge are pretty simple. The goal is to provide enough support to help them know where to start but still leave plenty of space for students to do the heavy lifting
Click for more Energy resources ⬇ 
Comments
|
Joe CossetteFather, Physics Teacher, Knowles Fellow, Friend, Techie, and Musician Blog Posts |
|||||||||||||||||||||||||||||||||||||||||||||||||||||


 RSS Feed
