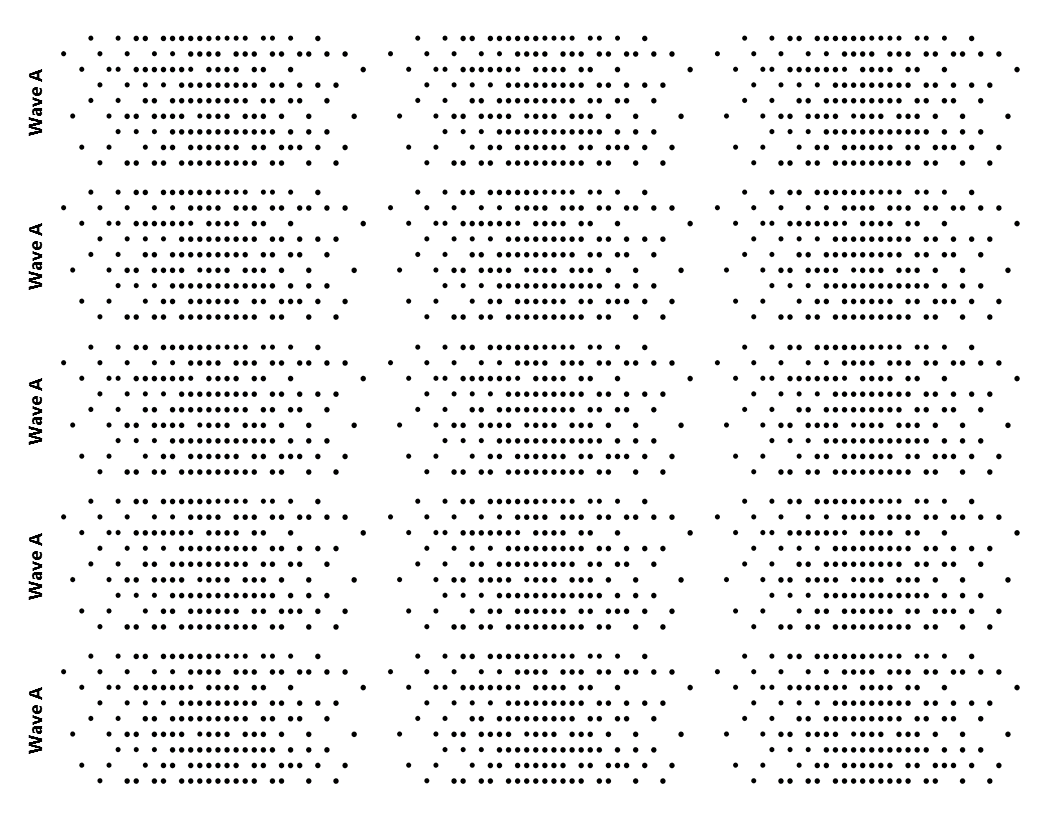
It took a lot of trial and error and I went through a handful of different approaches until I finally had a longitudinal waveform that I was happy with. The result is a file to be printed out on transparencies (I was able to track down several packs in our school but you can find some here if you need some). The way that the image is designed, these waveforms can be overlaid on top of each other to simulate destructive interference.
Part 1 - Extra SignalI start the lesson by providing every student (or group) a copy of Wave A. We spend a moment discussing the properties of this particular longitudinal wave and make note of the areas of high and low pressure modeled by molecule density as presented with dots. 
 Now that everyone has a copy of each wave, I instruct them to overlay the transparencies and observe how the pattern changes. When carefully overlapped, the result is a satisfying field of uniform dots. This represents how adding a signal can eliminate the pressure wave all together and cancel out the sound.  Part 2 - Wave ShiftNow that students have experienced how waves can cancel each other out to produce a uniform density we shift our focus to how this same result can be produced by shifting the original signal. Since all of the waves have been passed out to the class at this point, I instruct students to swap so that they are left with two Wave A transparencies or two Wave B transparencies. From there, I simply challenge them to produce the same uniform image using two of the same waveform. Of course, the solution is to simply shift one of the waves over half a phase so that the high and low pressures line up.  FilesBelow are the downloadable files longitudinal wave interference transparencies. Please use and share freely for non-commercial purposes. If you have any questions or ideas, leave a comment below :)
Comments
|

Joe CossetteFather, Physics Teacher, Knowles Fellow, Friend, Techie, and Musician Blog Posts |
||||||||||||||||

 RSS Feed
