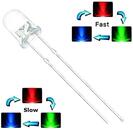
MaterialsFor this project, I organized materials for over 500 students to make a card of their own so I ordered A LOT of supplies. In the end, the total cost per card came to around $0.50. Since we didn't have quite enough in our science budget for all of this, we encouraged students to bring in $1 to help with the overall cost (but didn't keep track or prevent anyone from participating if they didn't bring in money). Cardstock For the card itself, we printed the templates included below on cardstock. It is highly recommended to use cardstock rather than standard weight paper to help give the card the needed rigidity Batteries To power the paper circuits, we got CR2032 3-volt button batteries in 100-packs. It's pretty easy to find these from a store but they often run over $1 per battery. In the end, the bulk batteries that we found came to around $0.20 each. CR2032 Button Battery | 100-pack LEDs I'm amazed at how cheap you can find LEDs these days! For this project, we got two different packs of LEDs for students to choose from. I recommend planning for around 5 bulbs per student with the templates below.
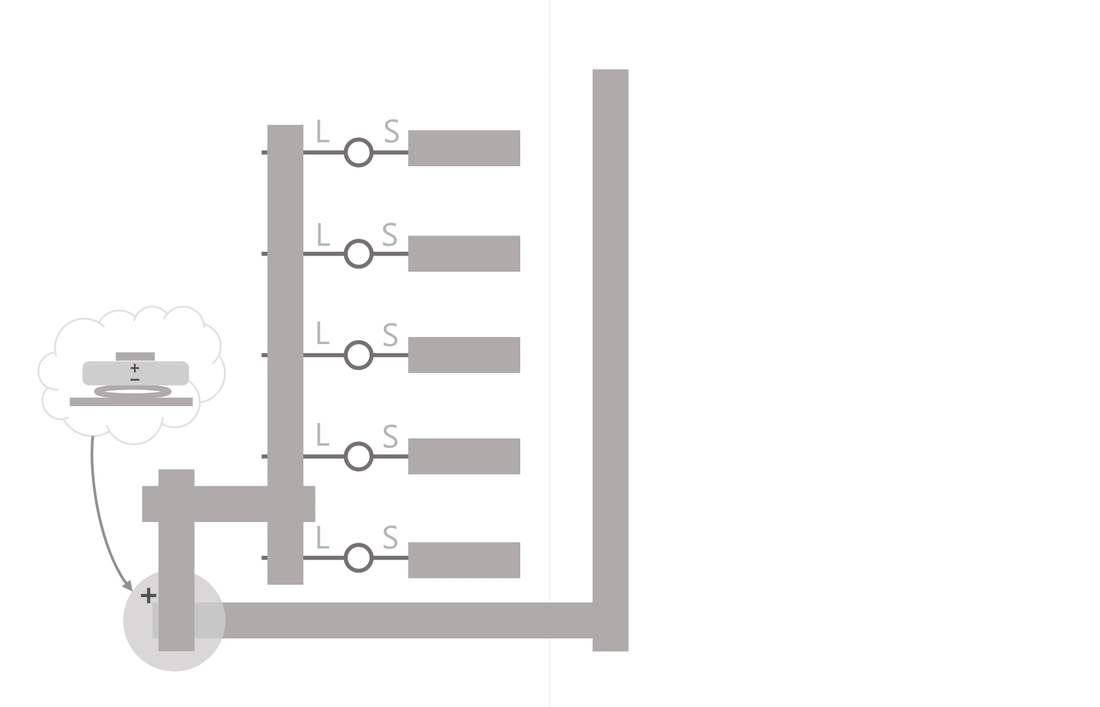
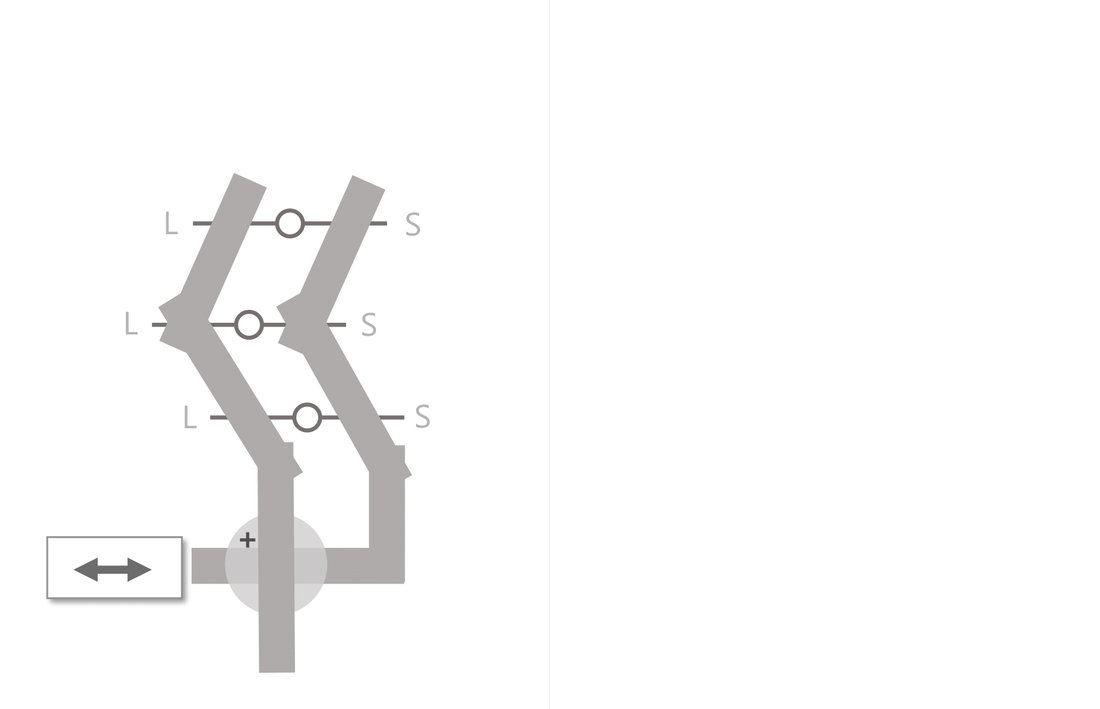
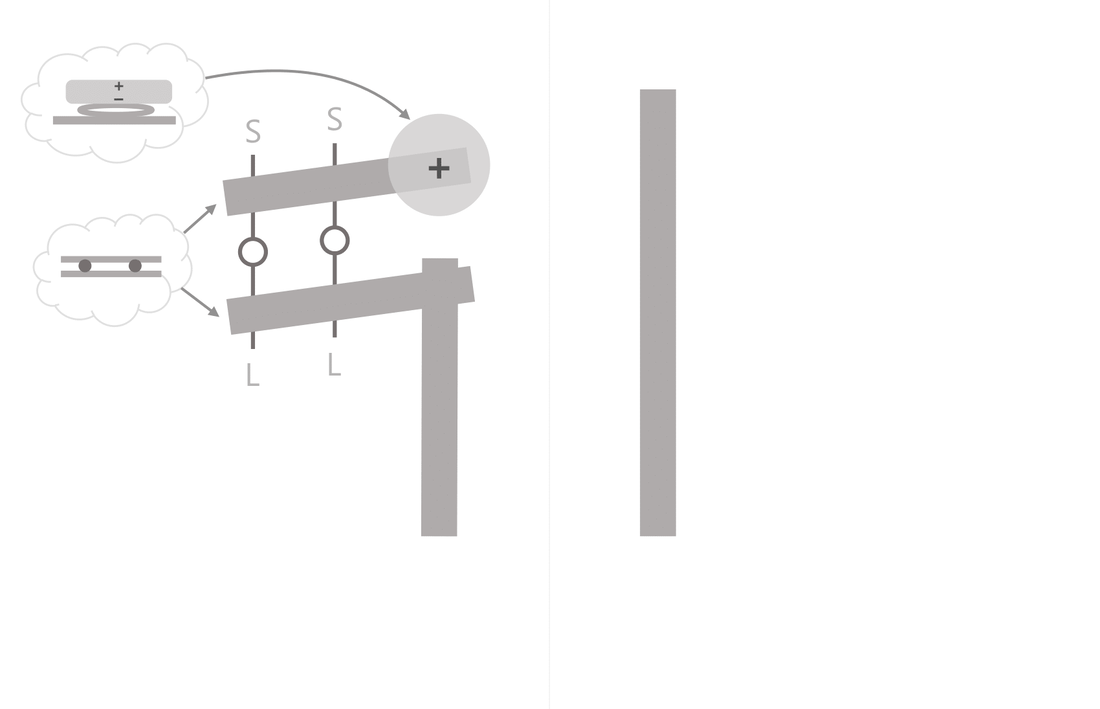
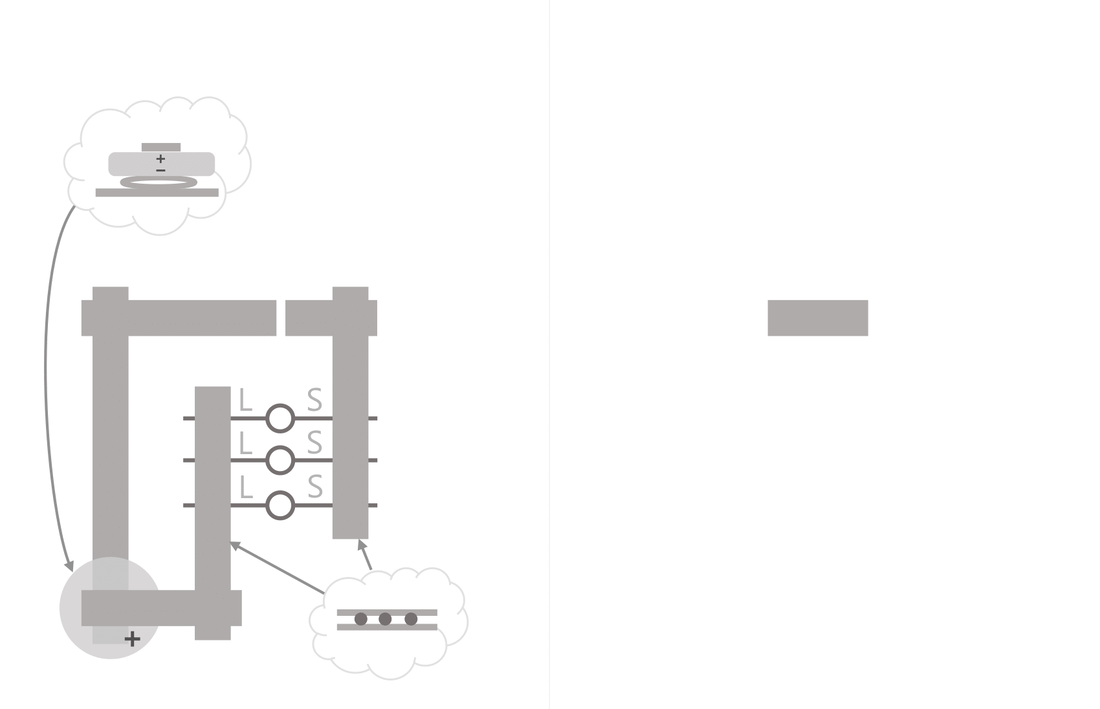
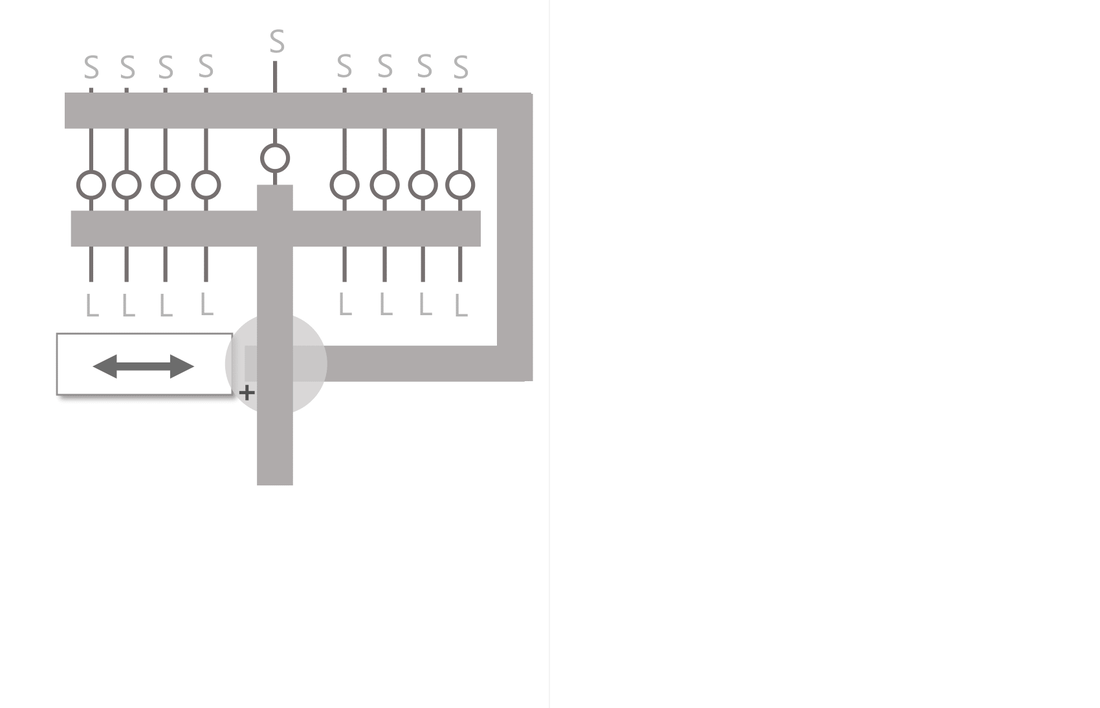
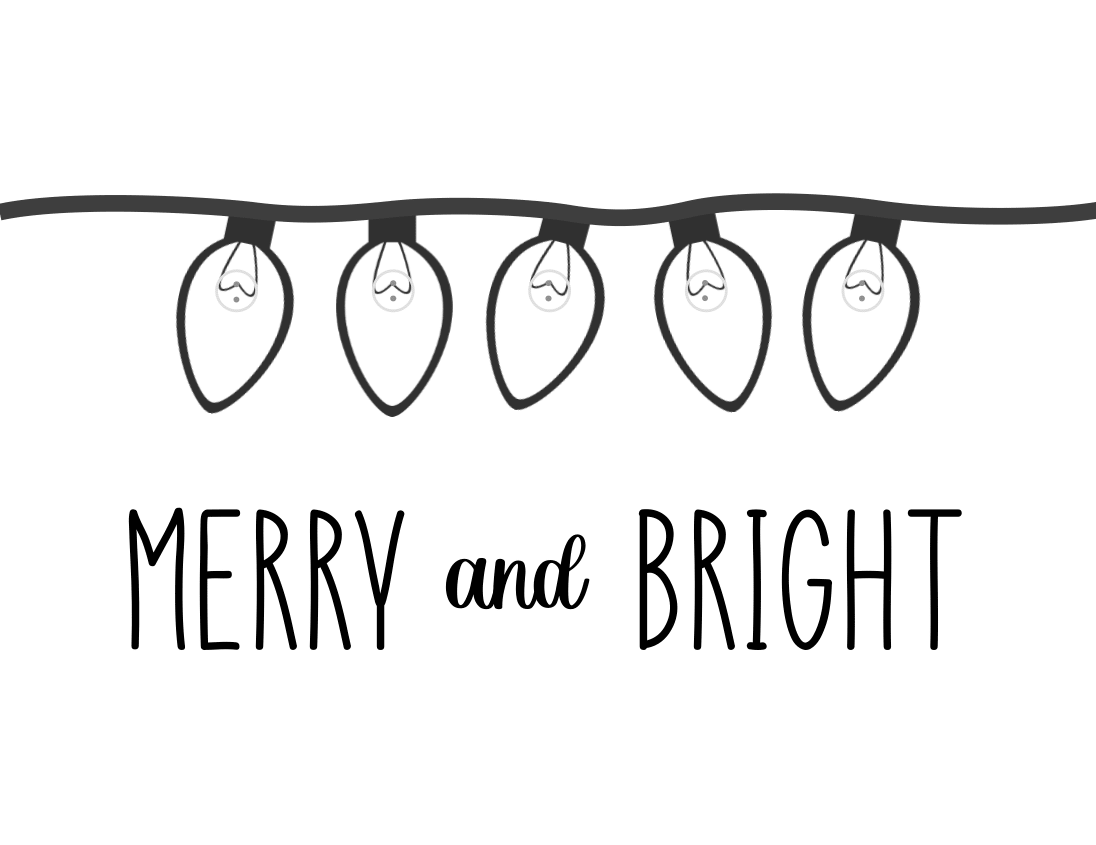
Construction TipsThere are a few different building tips that are important for anyone making one of these electronic cards for the first time. Color First Once the batteries and bulbs are added, the circuit becomes pretty "lumpy" so it's a good idea to add color before putting the rest on. Pre-Poke the Holes The templates provide two little dots were each of the LEDs needs to go. While it is possible to use the LED leads themselves to poke these through, it is so much better to pre-poke these holes. I recommend setting the card down on a piece of cardboard and using a push pin to poke through the cardstock in the desired locations. Pay Attention to LED Polarity LEDs will only work in one direction so it is important that the long side of the LED is connected to the positive terminal of the battery. The templates have an "L" and "S" to indicate the location of the long and short side. Some LEDs Don't Play Well Together Since different colors of LEDs have different voltages, they impact the rest of the circuit even when connected up in parallel. Because of this, red, green, and yellow LEDs can light up at the same time and blue and white LEDs can light up at the same time but these different "sets" of colors can't be mixed. There are work arounds that require extra resistors but I wasn't interested in adding more complexity ;) The "Merry and Bright" example that I included at the top of this post works with all of the colors because they are never on at same time.
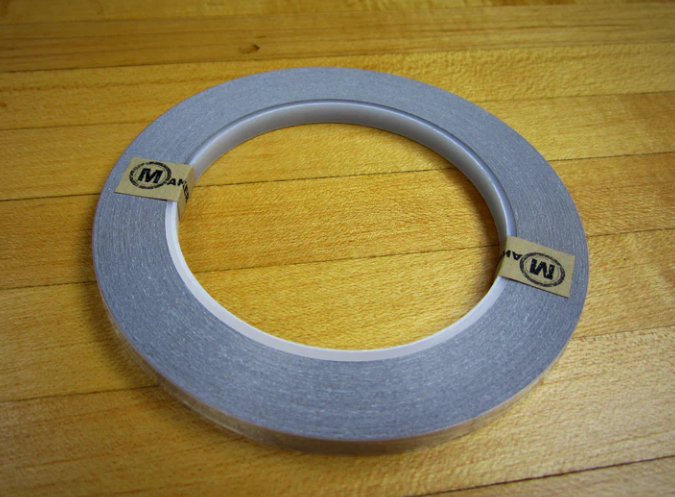
Add a Slider Switch Some of the templates close the switch when the card is closed by using the space on the other side of the fold to add some maker tape. Other templates require a slider switch. This can be created by cutting a strip of cardstock and sliding it underneath the battery. The switch breaks the connection with the maker tape below the battery. You can also wrap a portion of the slider with maker tape so that it doesn't have to be fully removed to complete the circuit. TemplatesYou don't need a template to make a light up paper circuit card but it can be a nice guide if you have limited resources, expertise, or time. I wasn't excited by the switchless templates that I found that only utilized 1 or 2 LEDs so I set out to make my own to provide my students with a few different options that they were interested in. The templates can be downloaded for free by clicking on the links below. The file should be printed front to back so that the circuit template is on the inside of the card. Check out the demo videos below to see what each of the cards looks like in action! :)
Merry and Bright
 Tree
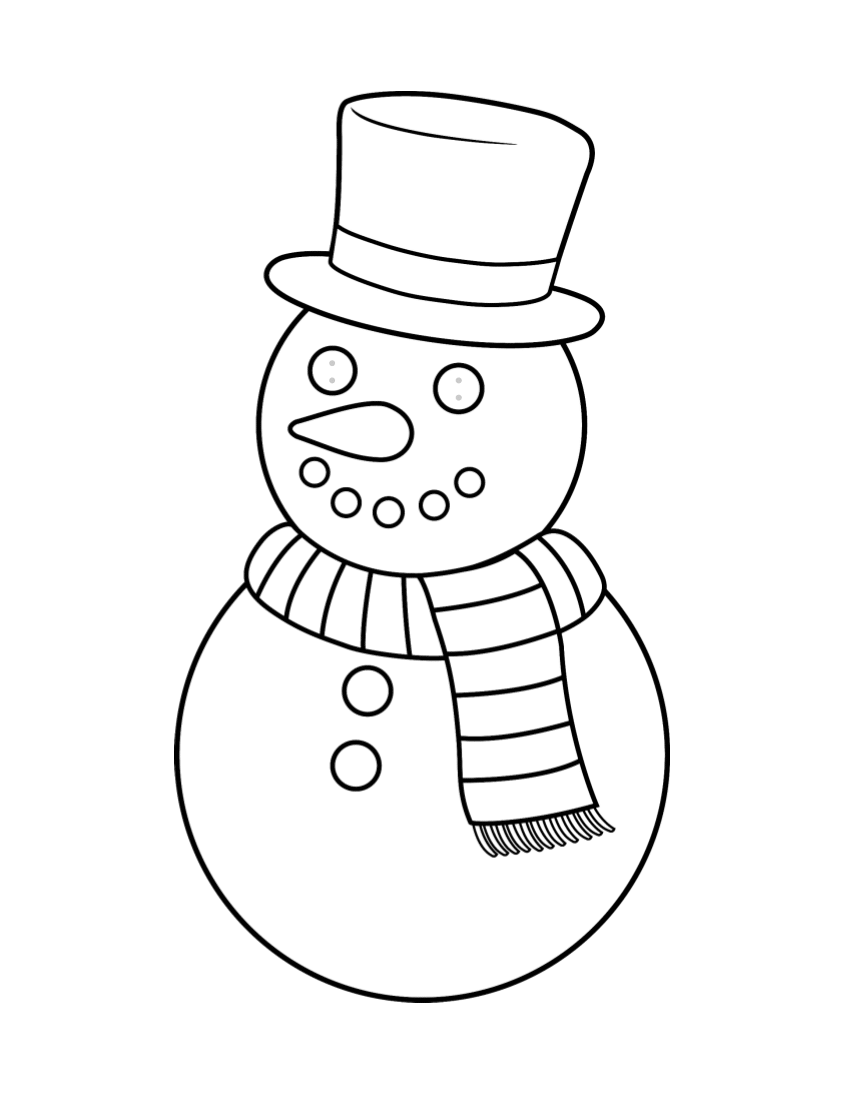
 Snowman
 Gingerbread Man
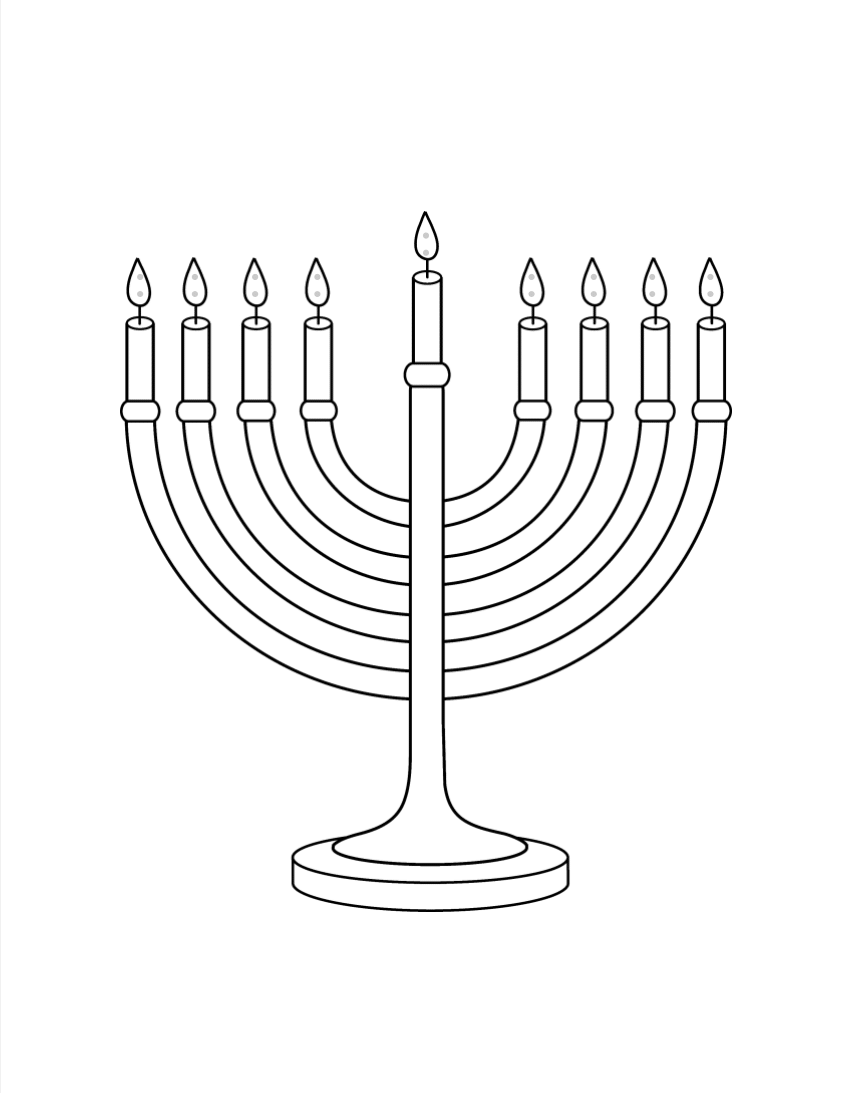
 Menorah
 Click for more Electricity resources ⬇ 
Comments
|

Joe CossetteFather, Physics Teacher, Knowles Fellow, Friend, Techie, and Musician Blog Posts |
||||||||||||||||||||||||||||||||||||||


 RSS Feed
